I hope you are all doing well!
Today begins the great experiment! I am pouring my first clear resin floor..in mock up form...to make sure I can actually pull this thing off and have it look the way I intended...so far, so good!


I then added just a few of the elements of the final floor, again, just testing to ensure I don't have any unexpected reactions based upon material types, etc. Since I am not going to use this floor, I made no attempt to arrange it other than distributing it evenly, and ensuring I had a couple of areas that had stacked items, to see what might happen in regard to trapping air.

I used Amazing Clear Cast Resin....since I had such good results with my earlier attempts using this brand. However, the Clear Cast Resins will not dry near as quickly. It has nearly a thirty minute "work time" and will take many hours to fully dry...between 12 and 48 hours according to instructions.

The first step is to pour equal amounts of Part A which is the resin, and Part B, which is the catalyst into two equally measured cups. I measured 1 ounce in each for a total of two ounces when poured together, as I wanted to have multiple pours, to create a multi-layered floor. I believe that this will help with dry time, and will also allow me to experiment with transparent resin dye in later pours.
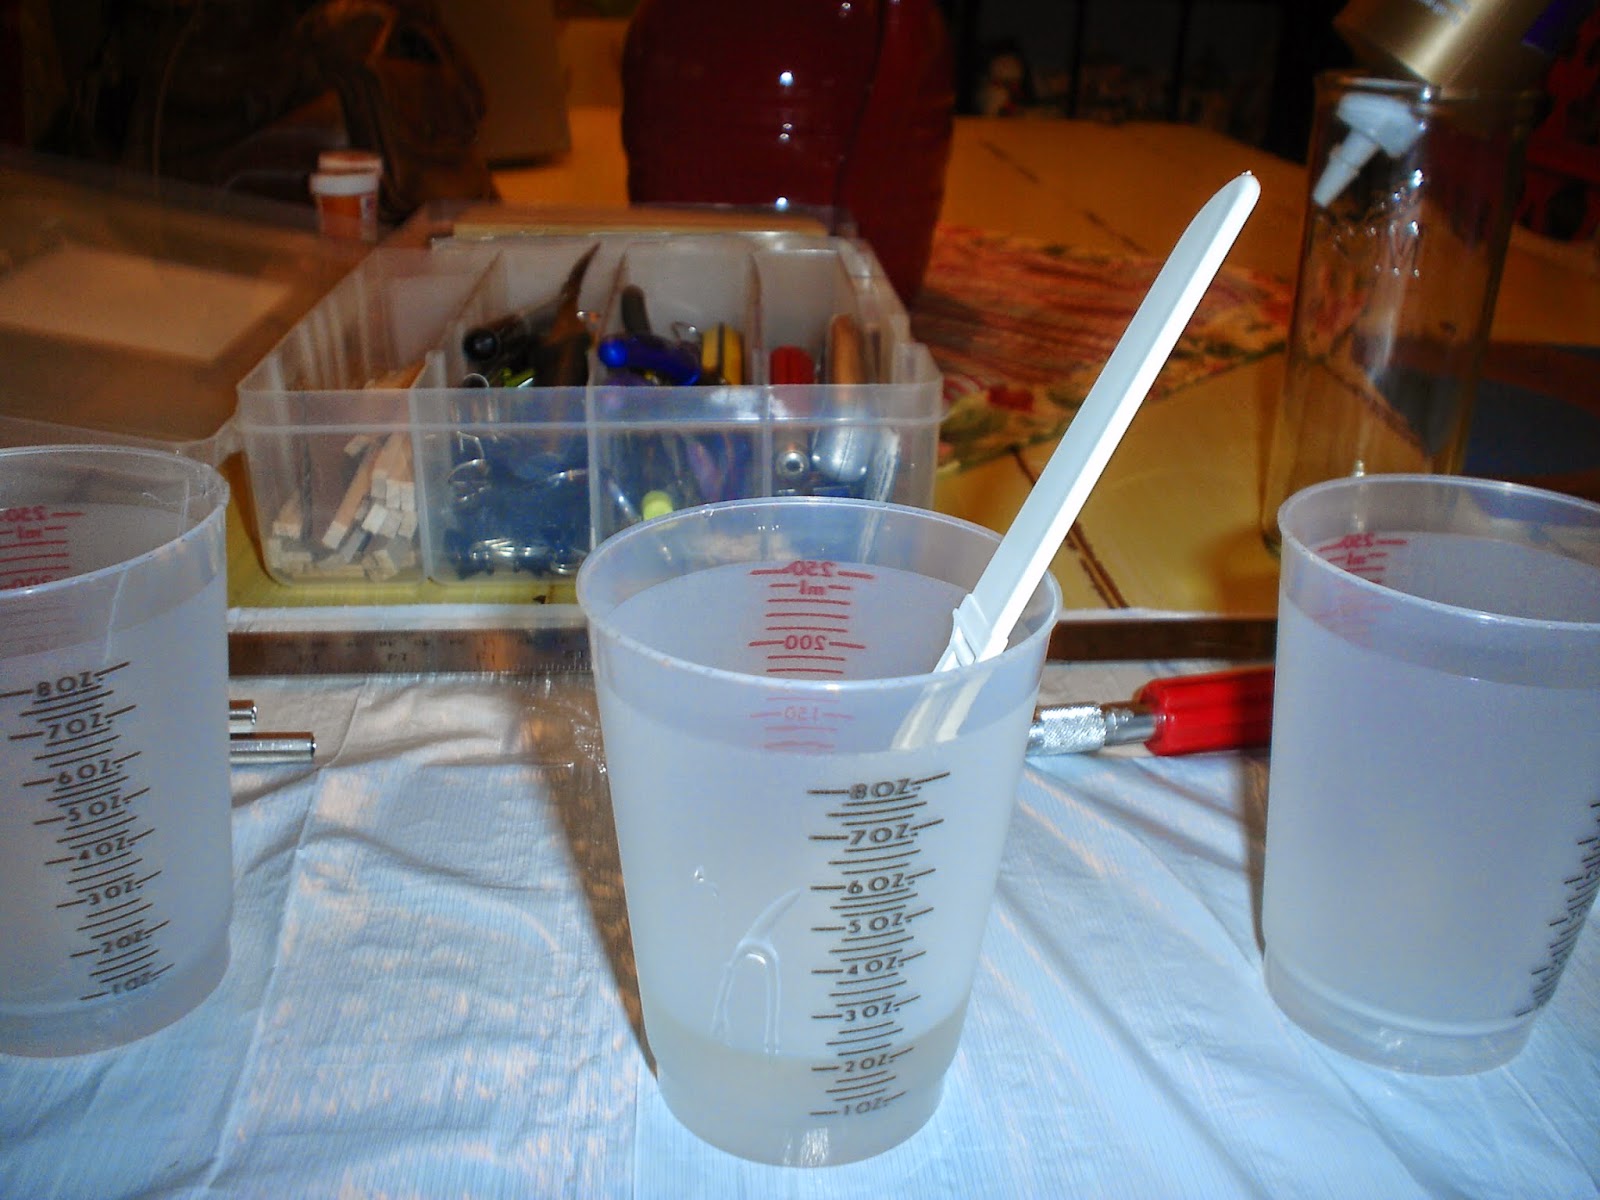
The next step was to pour both Part A and Part B into a mixing cup, where I used a plastic knife to stir the resin together, stirring the rather thick liquid until there were no swirls or blurry areas in the mixture. It went through a bit of a color change as the chemical reaction took place, and once the mixture was evenly mixed, it cleared up again.
I used a plastic knife rather than a wood tongue depressor or Popsicle stick because in reading up in preparation for this first test, it was recommended that for clear resin something other than wood should be used, as wood had the potential to introduce water into the mix, which could cause the resin to have problems in curing properly.

I then poured the resin very slowly into the mold, tipping the mold to move the resin around the mold. The liquid was very thick, so I did have to dip into the resin with a knife here and there and "help" the resin completely cover. As the resin self levels, these areas do not remain apparent.
As I write this, I just realized I forgot to put in the release agent I bought to help ensure this would come out! So, I may have already made a fatal mistake...we shall see.

The results so far are amazing! It is giving me that extremely high gloss effect I wanted...and I am getting a bit excited about the potential results! If the color and shine are maintained as the floor dries, the final effect will be perfect.
Now I wait for a couple of hours for the resin to cure to a somewhat jello like consistency, as at that point I am going to pour the second level, which I hope to add a bit of transparent dye to in order to create a beautiful amber cast to the entire floor.
For now, that is where I am! I'll post sometime tomorrow with where things went from here!
Have a great day!
Doug S
Hello Doug,
ReplyDeleteI love it! this test is really looking fantastic. the shine is perfect. I hope the rest of the test goes well, but you are well on your way!
Big hug,
Giac
By the way, I thought of you this weekend. There is a French music group I love, Les Rita Mitsouko, and they made steampunk themed video called "Cool Frenesie", in case you might be interested.
Big hug again
Hello Giac! Thanks for suggesting the video. It was fun to watch! I love that you thought about pointing it out to me. Thanks for that!
Delete