The world of miniatures, no matter how seriously we take it, is a world of fantasy. A world we make that is filled with playfulness and magical wonder. Whether the focus of our miniatures is on the decaying world, the elegance and grandeur of the past, or the cheerfulness of an entirely imagined world, all share the goal of making magic happen.
We love the magical, imagined worlds we create. The popularity of our movies and books, television shows and stage plays is a testament to the fact that this magical world we make speaks to us.
Walt Disney's 'The Little Mermaid' is one example that is evocative of the magic of an under sea adventure. A wonderfully crafted, magical, and joyful expression of beauty. Unless you have molasses in your blood, one cannot help but connect with the playful and beautifully constructed world world 'Under the Sea'.
Most "adults" disparage these playful excursions as childish, but I think that secretly, we all love our fantasy worlds to some extent!
It is our hope, as we patiently cut, assemble, sand, paint and carve our way into these miniature worlds to create such magic in the hearts of those who see our work. I am continually amazed at the magic that can be created using paper, string, wood, and fabric. This is how I felt as I began to work on the mirrored over mantel in the last few days.

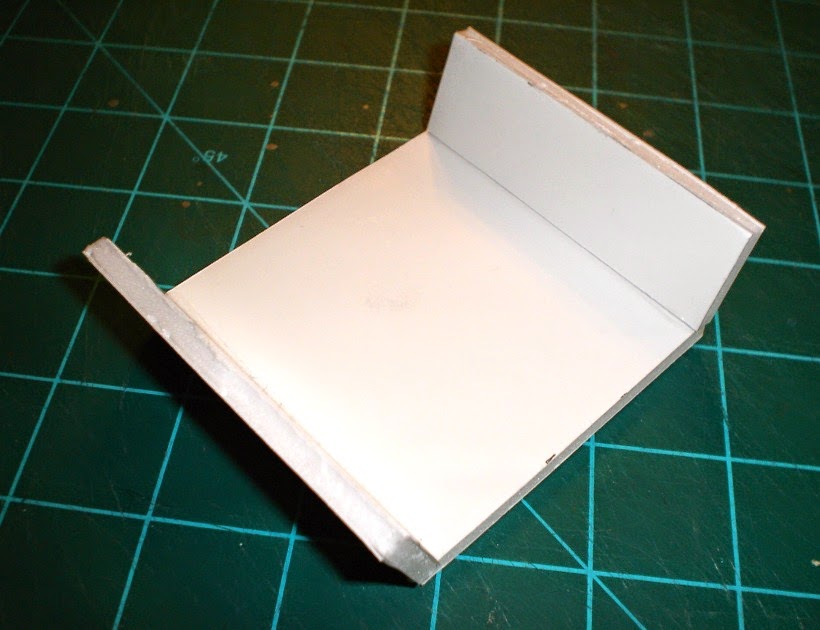
My job was to take this over mantel made of mirror and cardboard and turn it into a believable and hopefully elegant over mantel for my miniature fireplace surround. I've spent days working on the little pieces that make up the whole, and as usual, experienced the many ups and downs of the creative processes. There were times I wanted to take the whole business and dump it in the trash.


Here is a closeup of the jewelry findings I used to help create detail.


From the jewelry case, there were two additional details I made a mold from. The first is the straight bar with curled ends you see in the above closeup of the jewelry box door.


I began the process of transforming our little cardboard mirror by gathering a few things to help me create the detail I wanted on the over mantel. These were a jewelry box my daughter has in her room with some incredibly wonderful detail, a small frame from Goodwill, and two jewelry findings.
Here is a closeup of the jewelry findings I used to help create detail.
I loved the Art Noveau detail on this little mirror I picked up for 99 cents at Goodwill. I made ANOTHER mold of that detail out of the Amazing Mold Putty.
The second detail was the lovely scrolling that was part of the trim around the clock face.
No, these are NOT slugs. They are the new molds that I made to use to cast my little resin pieces.
I did the same with the two jewelry findings. The little mermaid finding, after casting, I cut into a moon shaped circle, and I used the linked jewelry finding to cast some additional details to use around the mirror.
 |
| Isn't it an ugly Christmas Ornament? :0) |
Lastly I used some cardboard that came with that awful Christmas ornament I used as one of the inspiration pieces for the Grand Parlor. I cut that into a couple of additional trim pieces to use for the mirror surround.
This is the menagerie of materials I ended up with once completed with all my prep work. An interesting, somewhat unrelated collection of "stuff". In and of themselves, none of them are too especially magical. In fact, a couple of them would be considered trash by the majority of the world.
This is when the magic started to happen.
Here is a shot of "The Plan", as I went into the process of creating a new magical over mantel. I apologize for the fuzzy shot.
Remember the rough edges that were created by the 4 layers of cardboard? I took care of those by using Spackle to create a smooth edge along the sides and top of the mirror frame.
The first step, after preparing the surfaces was to add copper leaf to the entire mirror frame. The process for doing this is very simple, if lengthy! I added Adhesive Sizing (available wherever fine Metal Leafing is sold!), and left it to "cure" for about 15 minutes for EACH surface! There are a LOT of surfaces! :0)
After you get over seeing a closeup of my perfectly manicured hands, and the embarrassing glimpse of skin (yes I was dressed!) you will see that this is indeed a DIFFERENT picture than the one above. Here I am actually applying the copper leaf after allowing the sizing to cure. Good thing television has been invented, yes? I believe I was watching "Gotham" On Demand. :0)
After several hours of applying sizing and applying copper leaf, this is what I ended up with. Sorry about the horrid photo. I really need to take lessons on how to use my camera (or better yet, replace it! It is on its last legs, like everything else I own!). I really should not subject you all to such ugly photos!
At this point, I got so into what I was doing that I forgot to take photos! So you will have to imagine the process from this point on (as they sigh in relief! This has gotten to be quite a photo heavy post as it is!)
This was when I almost threw the whole thing into the trash. Remember that Indian Ink concoction I came up with in an earlier post? I had decided to age the whole thing using that.
It was atrocious! That was WHY I forgot to take pictures. I went into panic mode! I literally tore my hair out trying to reclaim the ground I had lost. I still did want the aged look. . . remember the aesthetic I am going for is elegant grunge, so I had to maintain some of that but I was SOOO unhappy with what had happened. Oh well, I guess that is how we learn, isn't it.
I went through an agonizing process of playing with every part of the fireplace to return it to it's former promise of elegance and beauty. I painted stuff white, repainted stuff green, played with ink, and took a moment to feel sorry for myself.
After much ado, I finally came up with something that I like. I am SURE I will be playing with this more, because it still looks too dirty for me. But in the spirit of open and complete sharing, I am showing you what things are looking like now. There will be some small alterations, but overall, I do think that "magic" happened!
I think mostly, I do not like the "grey" feeling that is now there. I'll continue to play with the aging and probably pull back the aged effect to be a little less obvious and more uniform, but overall, I think we are getting there. Thank goodness it is all paint! You can repair just about anything that is just painted.
I'll take a moment here to point out my "solution" to the mirror overlapping the crown molding. I rather like it! I built a chimney breast right up to the molding out of mount board. The fire place and mirror now sit just in front of the molding, and it makes sense to the eye.
You can see that the "grunge" factor is starting to emerge. As I noted before, I do want to back that off a tad, but overall, I do like the effect. The "floor" is removed in these shots (I cut up part of it to use for the fireplace!). I have another (clean) sheet, which I will use on the floor when I get there. The original sheet, as you can imagine, was getting a bit "used" looking with all the ins and outs of things going on around it!
Here is another shot that gives you the entire height of the fireplace. I love the way the walls reflect in the mirror. It is so enchanting! The darkness of the jewelry findings at the top helps balance the darkness of the "carved" mantel detail below.
Some of the more observant may have noticed that one of my decoration pieces is missing from these shots. I forgot to glue the small shell on the carved piece before taking these pictures. That is now remedied! :0)
A final shot to put everything into perspective! It is always good to stand back and look at the overall effect. I like what is happening. I am excited to get to the point where the kitchen rooms are begun as well, and I can attach the modules together and begin the detail work that really brings everything to life.
Once I have completed the fireplace and added the basic materials to the chimney breast, and gotten the floor of the Grand Parlor completed, I will be moving on to the kitchen module to get it to the point that it is ready to attach as well. We are getting closer!
I hope you like the transformation. I am still finding fault with it, that is part of my process I guess. But I do know how I will work to improve it, and I am excited for the final outcome. I am on the "right" path now, I think!
Until next time!
Doug S