I've continued work on my Grand Parlor miniature fireplace since my last post. This has been fun!
My first step in bringing this fireplace surround to life was to create the texture that will become the basis for everything else. And to do that, of course, I am continuing my underwater theme. I wanted to create a texture that "lived well" in the space, and what better than creating the impression of coral?
To establish the texture I wanted, I used a test piece of Foam Core, Unsanded Adhesive and Tile Grout, a putty knife and an old toothbrush.
I applied the unsanded grout to the Foam Core Board in about a 1/8 inch layer, maybe less. Just enough to give the grout depth that allowed me to manipulate it for texture.
I actually went over the entire fireplace once to establish the basic texture, and then re-stippled the entire surface again after a couple of minutes to improve the texture impressions and make them a bit finer to match the scale of the house. I then took a piece of fine sandpaper to knock off the points of the stippling.
When completed, I ended up with a nicely textured fireplace. I've placed a small frame (you've seen this in other places in the house already!) to help me get a sense of the size and effect of the "completed" fireplace.
The final Overmantel will be quite different than above, but again, this is that "visual cue" thing I have to do to really plant the vision in my head. I think this visual process I have to go through is all about proportion. I seem to be able to "morph" my ideas in my head, but I also seem to need the visual cues to help establish proper scale. Unfortunately, I am not the guy with the calipers and fully realized drawings in place before I ever touch anything. I've tried. . . and it ALWAYS fails. So I live with my little handicap. :0)
As you can see, I also put a few pieces of Foam Core Board around the edges of the Overmantel to assist my visioning process.
Having established the basic texture I wanted, I now turned to determining the right "shade" of color for the fireplace.
The technique I used to obtain the color was to use Floating Medium. . . That wonderful invention that helps to keep paint from totally covering the piece. I used very, very small amounts of the paint that I used for texturing the walls of the parlor.
If I had to guess at ratios, I would say that I put about 2% paint into 98% Floating Medium. I played with the amount of paint until I got the coverage I wanted. It is hard to see in the photo, but there were about 5 tries...the final one on the right is what I decided upon.
Above you can see the textured and colored fireplace. I wanted this very pastel effect, because this is going into a room that is highly colorful, and I don't want the room to look like a circus tent! This understated, pastel green does not look all that great on a white background, but it comes alive when put into the room.
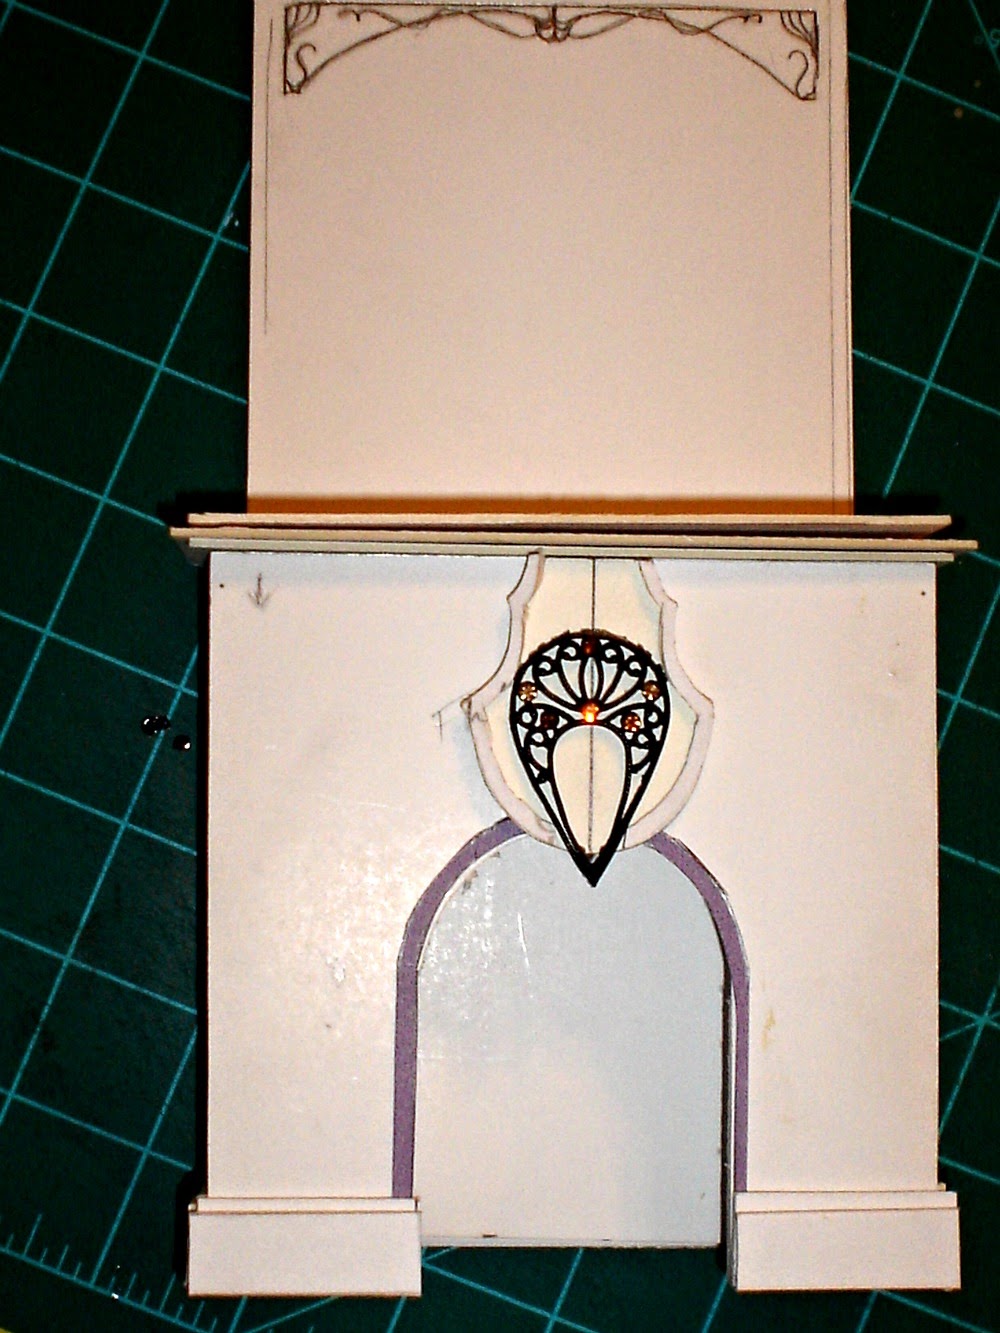
I then added all of the base trim to the front of the fireplace, using mounting board. The "carved medallion" is painted white, and the background of the medallion is also stippled just like the fireplace to create a textured (coral!) background. I used a very, very light touch on the medallion texturing, because I wanted to ensure that the texture was an impression, and not otherwise noticeable.
Here is a shot with some of the decorative detail laid onto the colored fireplace. The little metal swirl is a copper paperclip. This was taken before the medallion and other base trim was glued on.
I've progressed to the point that all of the base trim has been added, and the mantel has been painted and glued on. I did decide to just use the mount board for the mantel, as I feel it is quite realistic looking as is. I have more trim to put onto the fireplace surround to complete the portion of the trim that evokes that art noveau effect, and of course, will be adding the fish and seaweed detail to the front, once it has been prepared and colored.
I am excited about where this is going! It is a bit fanciful, but I think that still works with the Steampunk Theme, so I am staying with it.
Next steps? That scary "feature" that I mentioned, and the Overmantel!
Wish me luck! I have ONE piece of wood for my "feature", and I am very unsure of how to accomplish what I want to do...so again, I stretch beyond my comfort zone! But isn't that what all this is about? Learning and creating. . . pushing the envelope. I have a love/hate relationship with that process!
Until next time!
Doug S


