Hello one and all!
Welcome to Miniature Endeavors!
Welcome to my learning curve! I am newly into miniatures within the last year, and I am already hooked. Totally!
I hope to be able to share with you the many things I am learning, and to return some of what I have found on so many other fine miniature blogs which I have religiously followed since I began this project. I have thoroughly enjoyed them, and learned so much from them. I already feel like I know some of you. I hope to get to know a lot more folks in this process.
I hope to be able to share with you the many things I am learning, and to return some of what I have found on so many other fine miniature blogs which I have religiously followed since I began this project. I have thoroughly enjoyed them, and learned so much from them. I already feel like I know some of you. I hope to get to know a lot more folks in this process.

I first began my journey in the mini world in January of this year. My only previous experience was the obligatory dollhouse for my daughter, and I had fun with that, but never really completely finished it, and within a few years it went the way of all "REAL" toys. Well loved and abused, I might say!
I'd like to introduce my current, and first, real project, the Steampunk Chateau. I don't have a better name yet....The house hasn't informed me yet what its name is. I just know that it is inspired by my love of architecture, steampunk, furniture and all things graceful. The combination has led to the project you will be following if you choose to go along for the ride.
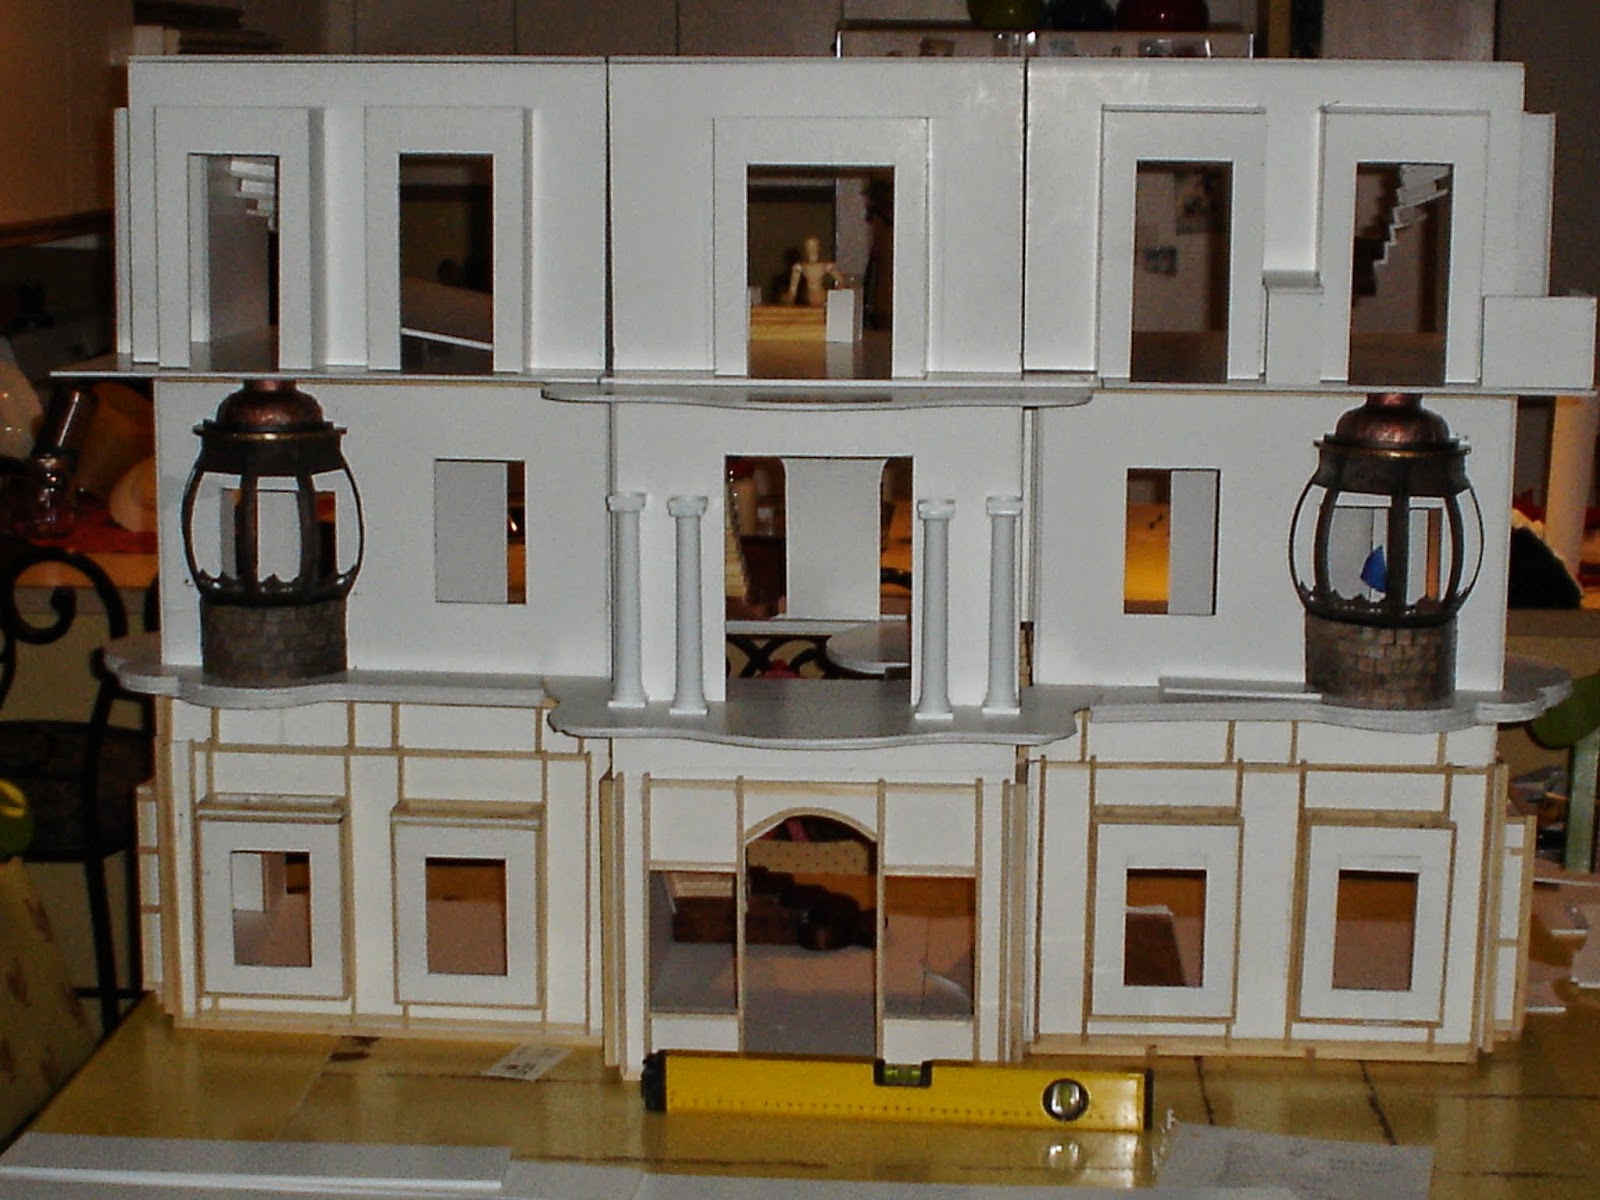 |
| Scratch built room boxes assembled in dry fit - from the front |
Here is a picture of the first of the room boxes at the very beginning of this process. As you can see, I can work on one or two room boxes at a time, and don't have to have the entire contraption downstairs in our teeny, tiny living area.
 |
| Grand Parlor Room box, the first of many |
I've scratch-built this house, as I did not want to be limited by what is available in the market. The process of designing the spaces, learning how to complete a task, and solving the problems that come with doing new things is what this is all about for me...so you'll see me try and fail, and occasionally succeed...but that is the way I like it.
If anybody has great ideas for what to name this monster, I am all ears!
Here is the view from the open back, as it currently stands (minus a few home improvements in the entry, which I will share later) Everything in the house in this picture is propped and taped....except the basic room boxes, of which there are 9. Each of the six outside room boxes are 15.5 inches x 16 inches, and the three center boxes are 13 in. x 19 in. The whole is rather imposing!
 |
| Room boxes assembled in dry fit from the open back |
I'll be posting my progress from January through today in amongst my current progress over the next few weeks... You'll get to see my process...I'll warn you...I "plan", but I don't "make plans". Makes for an interesting journey!
Until next time, and I hope you will enjoy the read!
No comments:
Post a Comment
Welcome to the blog! I appreciate your visit, and welcome your comments!