More Pages

Sunday, August 31, 2014

Planning a Miniature Spiral Staircase

Hello and Welcome!!

Spiral Staircases are beautiful...they always, if well planned, create an elegance to a room and provide a conversation piece.  We are so drawn to these coiled, curved shapes that it seems that they may be hard wired into our brains.   They touch our emotions in a way that angular and straight lines just do not.

The process to build a spiral staircase appears to be somewhat difficult, but with a few simple ideas, the basic staircase is quite straightforward to build.


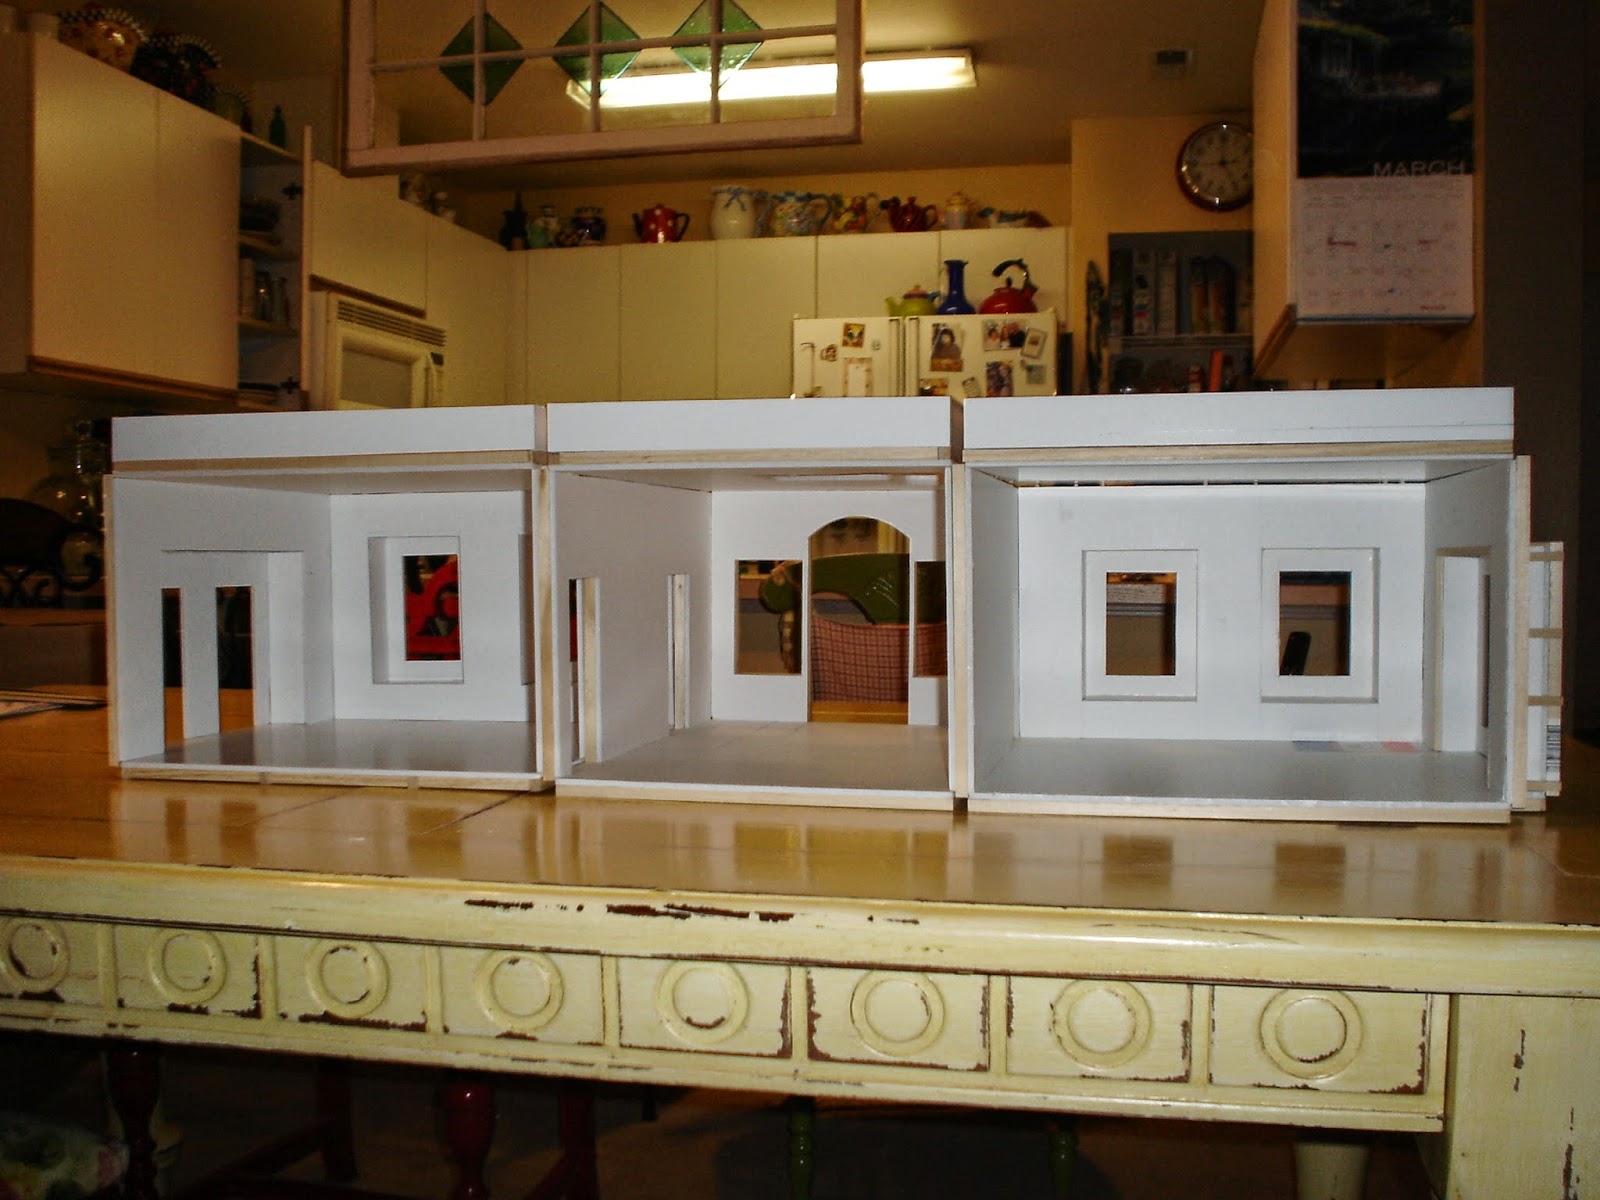
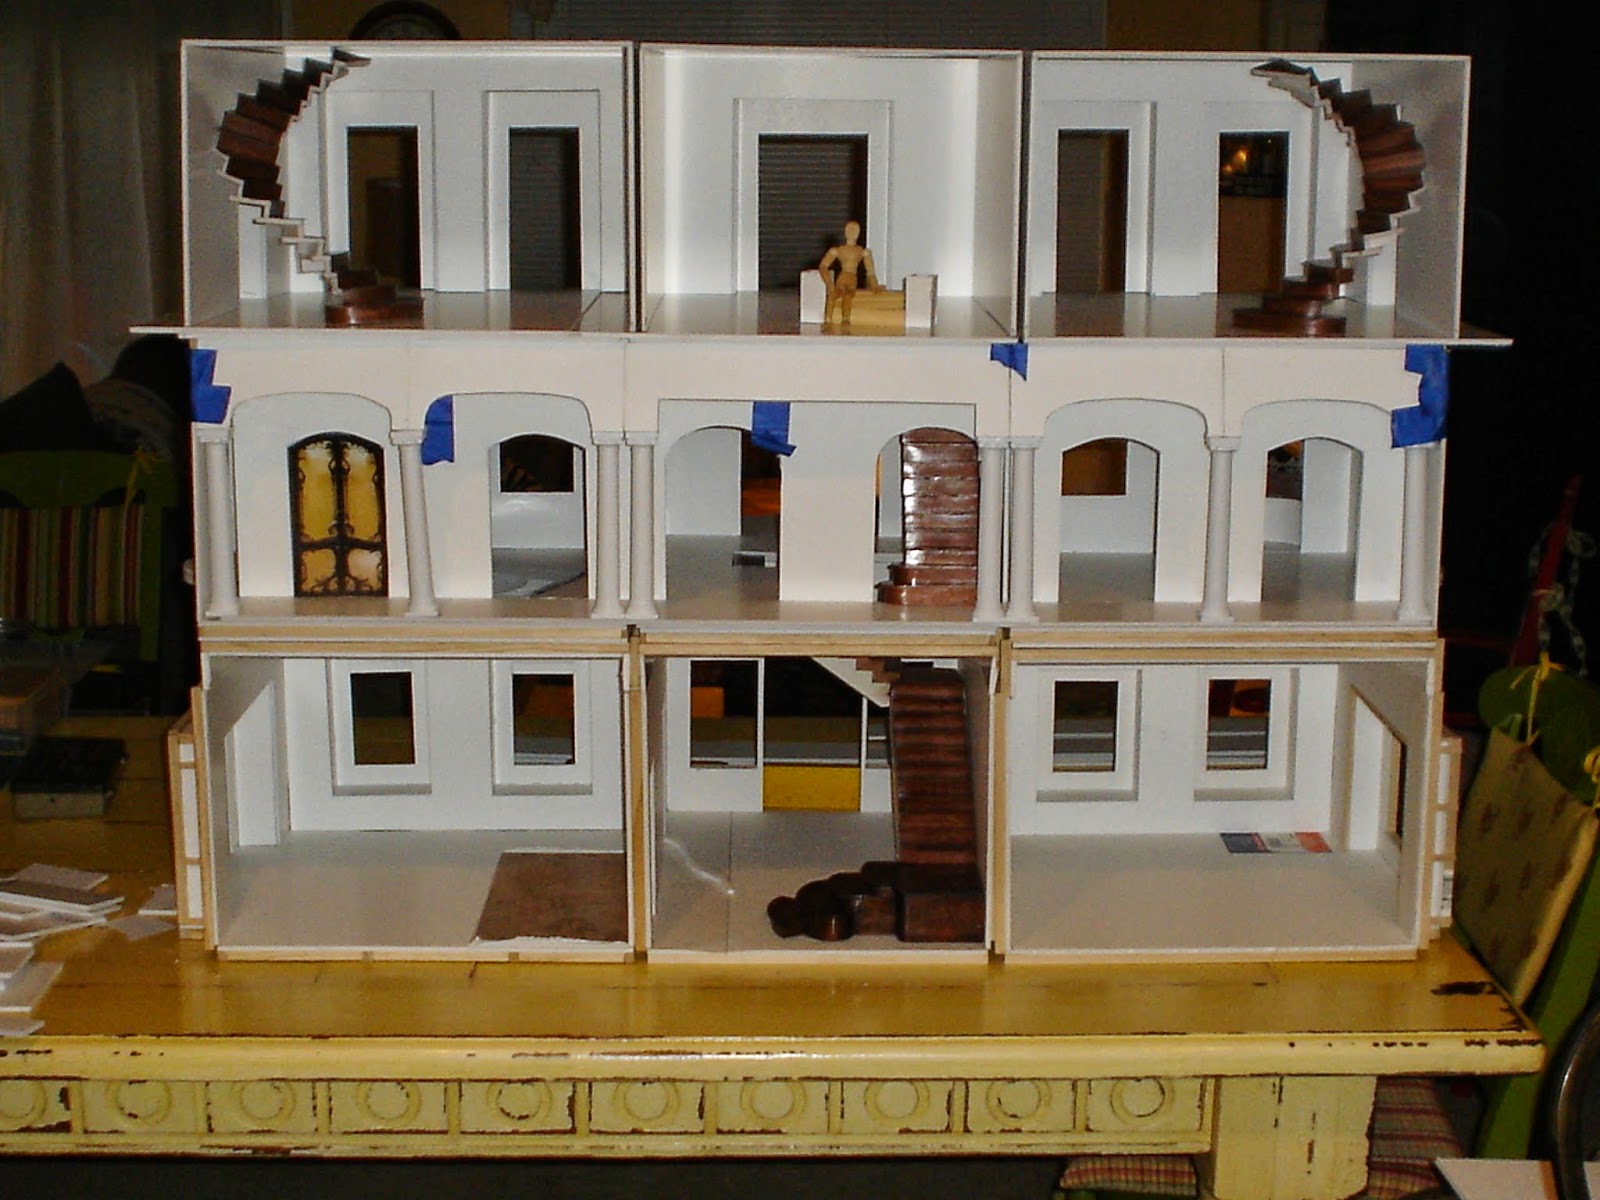
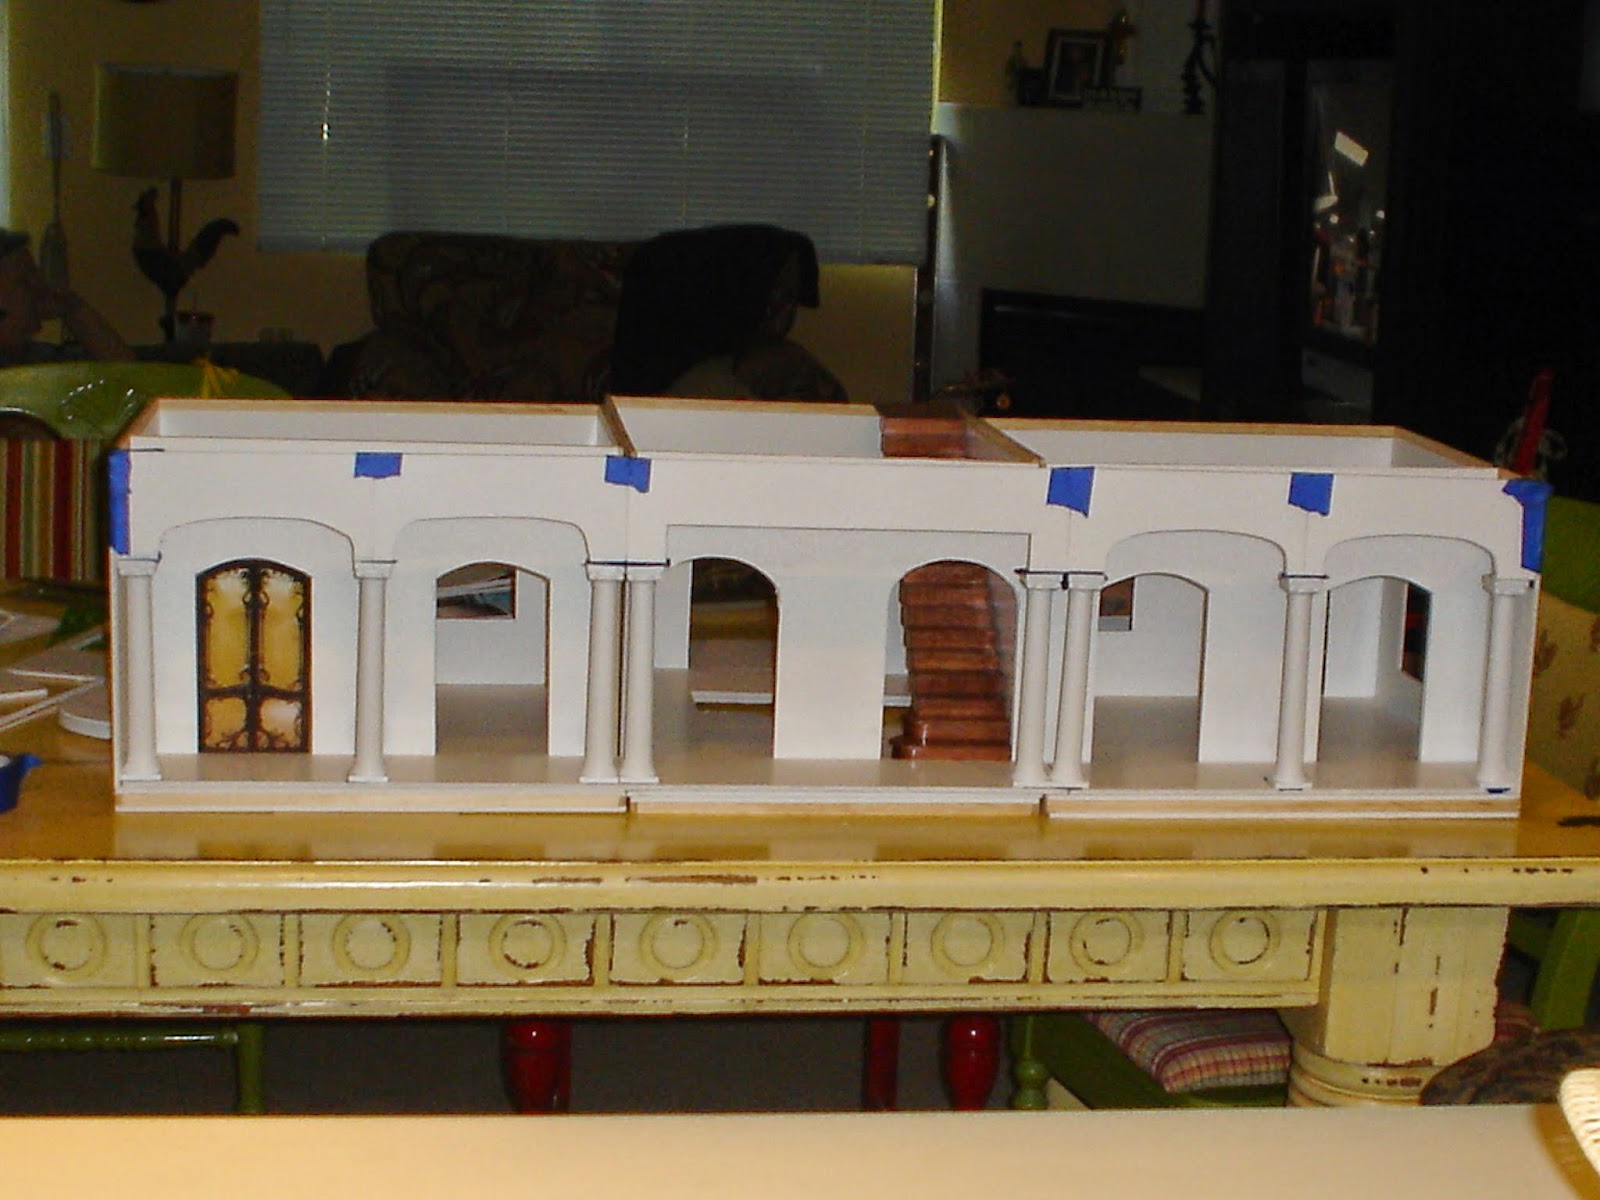
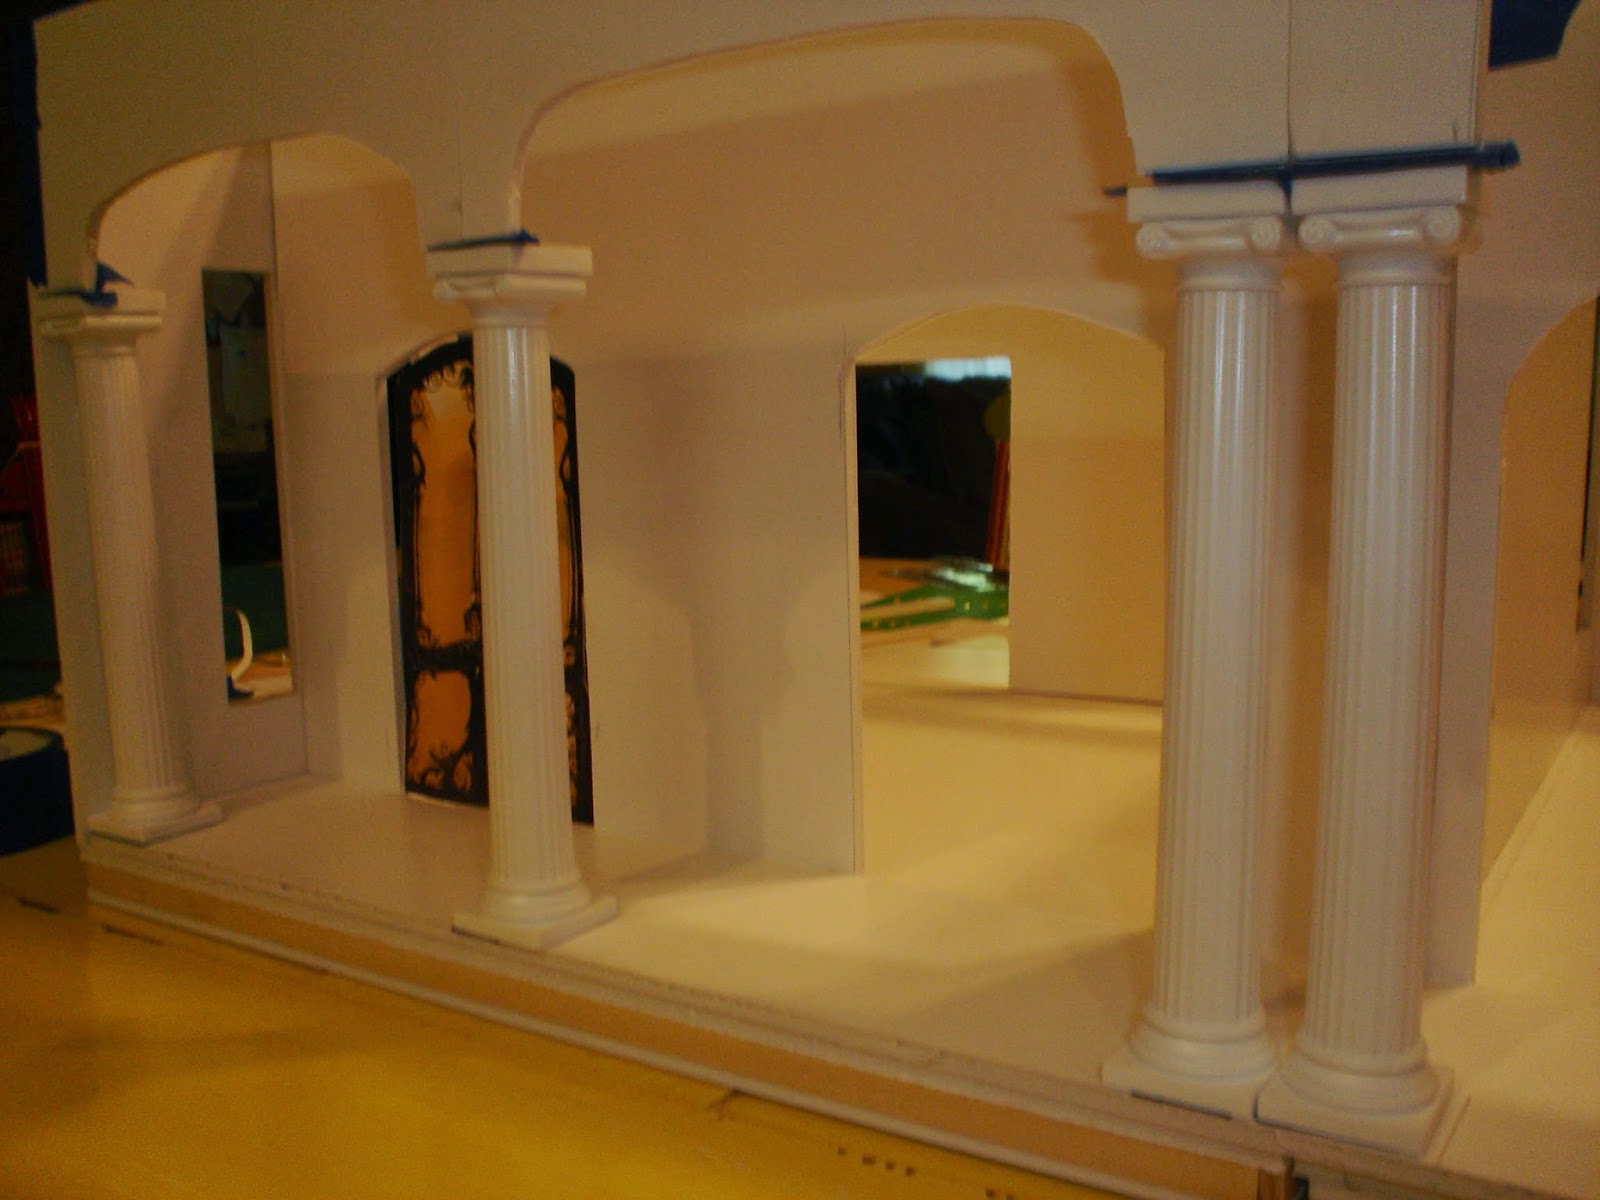
Spiral Staircase build for 3rd Floor


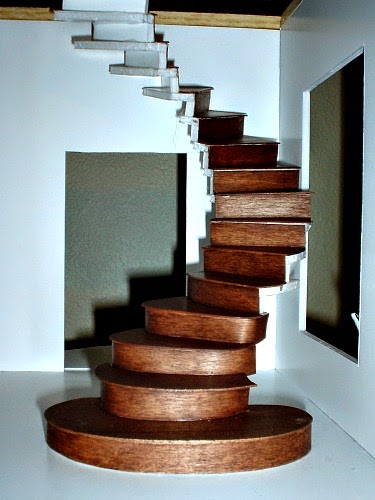
My staircase was inspired by the staircase pictured at the following url:  http://www.pinterest.com/pin/278519558175248192/


I've not brought the photo forward, because I am not sure of it's copyright status.  But when I saw that staircase, I knew exactly what I wanted to do for the Steampunk Chateau 3rd floor staircases.  My version is a modification, since I didn't bring the top of the stair over the bottom...I liked the single spiral better for my application.

I thought I would pass along what I learned in the process of planning this staircase...it really was not that much more difficult to accomplish than the other, straight staircases.   I hope the following will make the process easy and straightforward for you if you have always wanted that spiral staircase!


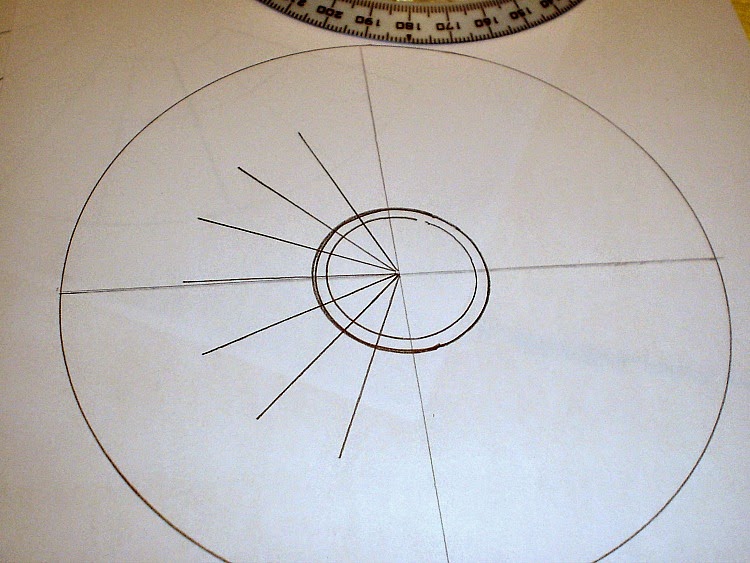
Step 1:  First, you must draw a circle the size of the final spiral staircase you want to build.   I am sure you will be impressed by my sophisticated tools!


Step 2:  Find the center of the circle by drawing a line through the halfway point of the circle.  (if you want to get scientific, check out the web!  I just eyeballed it!  Looking at my photo now, I "might" have missed the mark!  We'll pretend its the shadow effect, OK?)


Step 3:  Use the center point to center a full circle protractor.  Mine is a 360 degree full circle protractor by Helix.  


Step 4:   Using the center line of dots (at an angle to the scale measurements above in the Helix protractor) draw a circle the size of your center "post".   You may not use a post in the final build, but you will need one to gauge a straight center line as you build.   I used a cardboard paper towel tube, so I measured that circumference and then drew the center circle using the dotted slots in the Helix protractor.


Step 5:  Determine how many treads you want in the spiral staircase.  
The tool at http://www.blocklayer.com/stairs/stairseng.aspx can help you decide the number of treads and risers you need based upon the height of the staircase you need. 

Step 6: Determine the angle you need to obtain the correct number of treads required to reach the height you need.

To do this, use the formula "360/x=Y". In the example I am drawing for this demonstration, I am using a good round number of 16 treads, so in the formula, I divided 360 by 16, and get 22.5 as my equally spaced angle to obtain 16 treads.


Step 7:  Placing the protractor at 0 on one of the two lines you have drawn, begin advancing the protractor by 22.5 degrees each time, and then draw a new line.  (you will adjust to whatever measurement you need for the number of treads you require)


Step 8:   Continue clear around the circle until you have reached the original line, advancing exactly 22.5 degrees before drawing each line. The original line should be the same mark as the 360 degree mark.


Step 9:  Now you are ready to adjust the design to meet your requirements.  I wanted an Art Noveau look to the staircase, so I routed the end of the staircase outward.  You can adjust in any way you prefer to create a unique design.


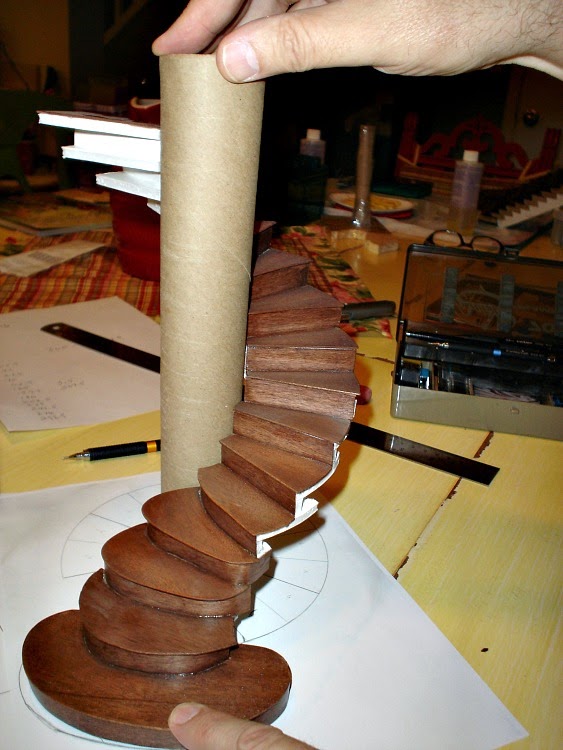
Step 10:  Remember to stop the center of the staircase design where you want the post (or invisible post) to be when you are done.  I was using this paper towel tube as the center point.  This could be adjusted to be narrower or larger, depending upon the requirements for your dollhouse decor.

Now build to print!  As you cut and build, you will want to use the center post ( a real one during the build!) to help you keep your staircase spiraling straight upward.  Butt the end of each cut tread and riser against the center post in order to ensure that vertical rise you will want.


Good Luck on your very own spiral staircase!  I hope this has taken the mystery out of the process!

Until next time!

Doug S

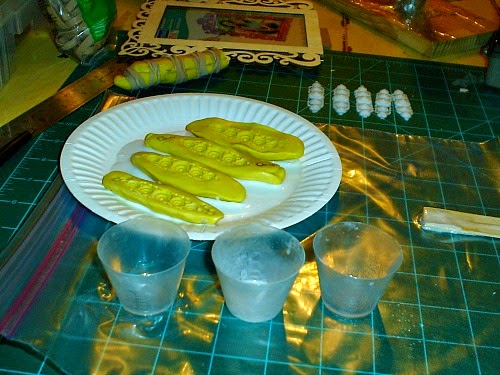
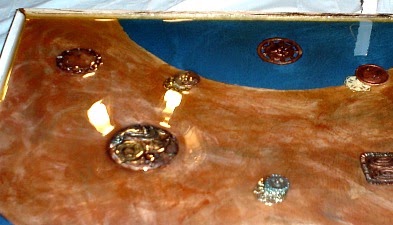
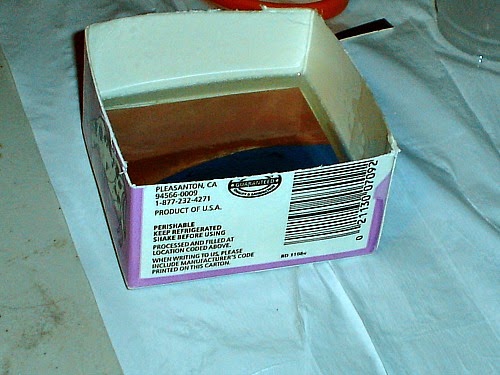
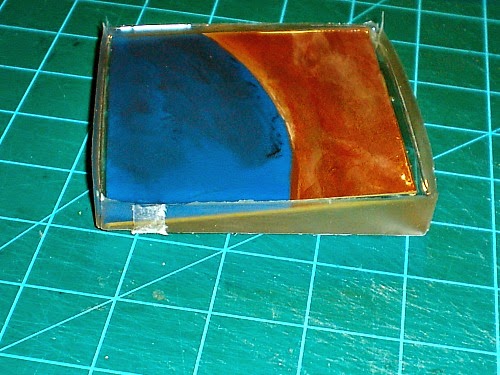
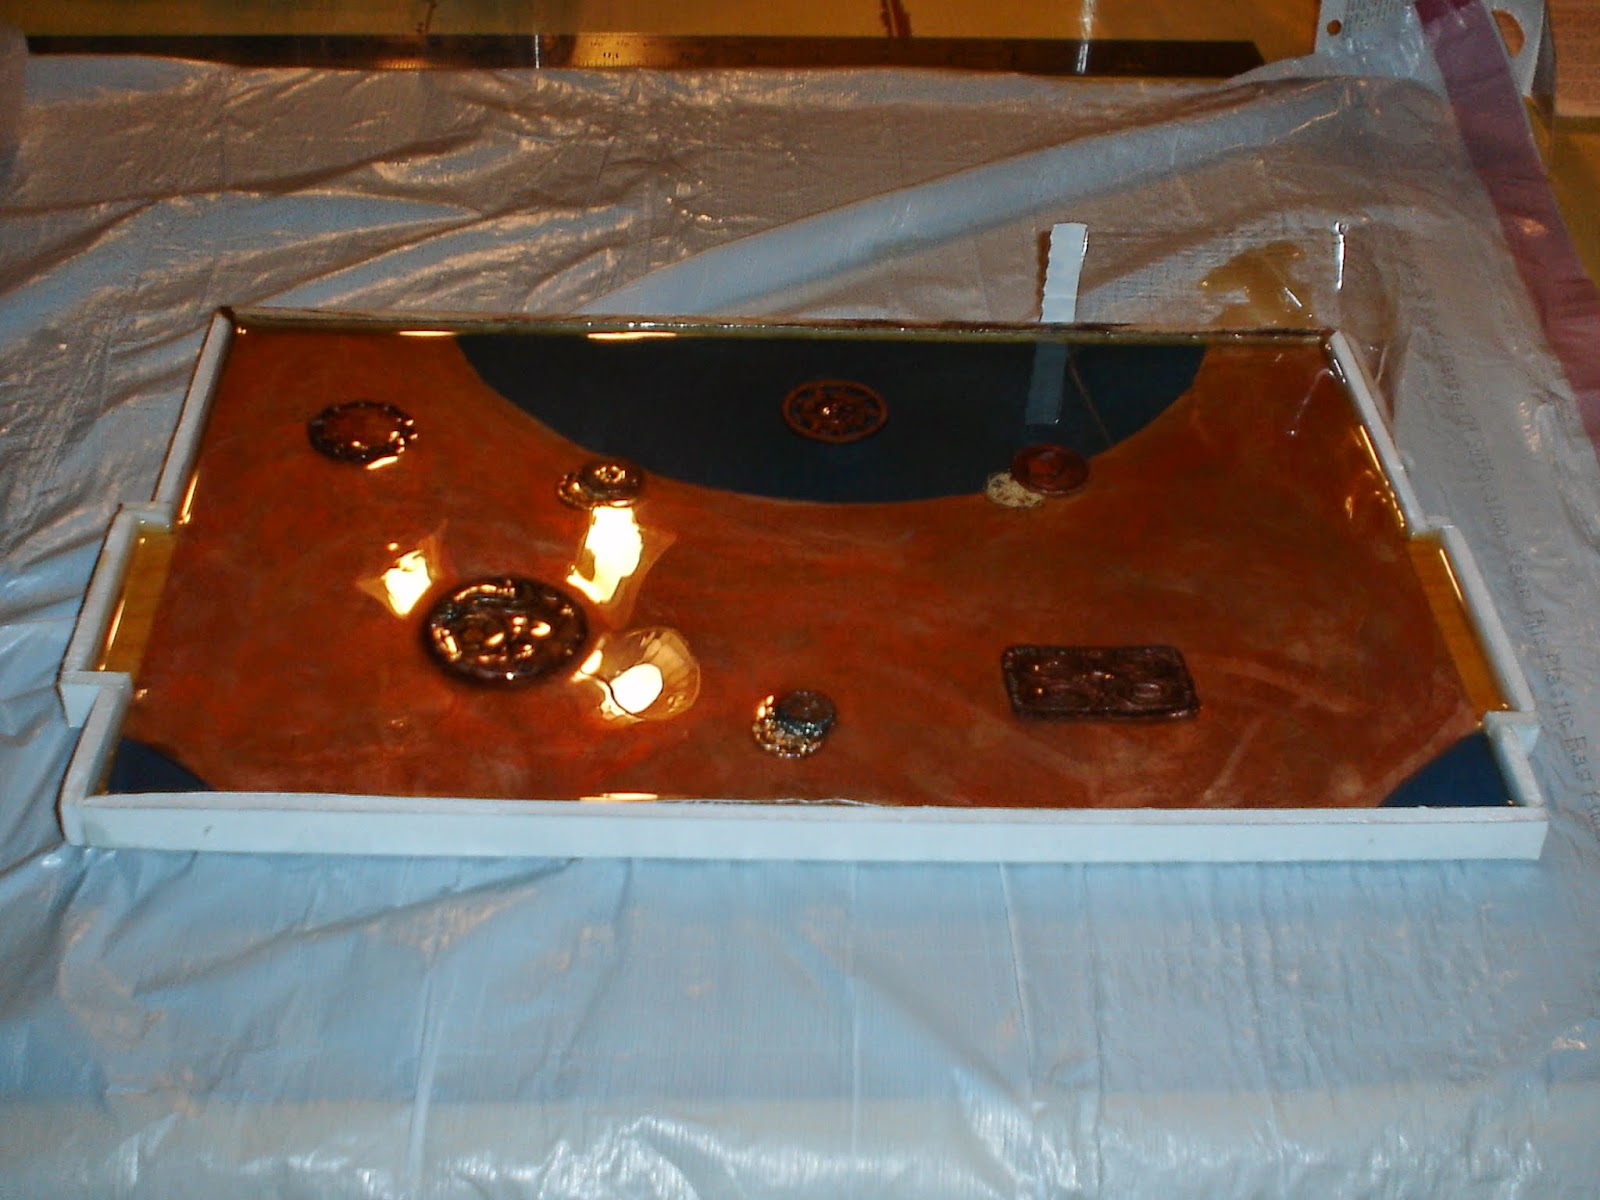
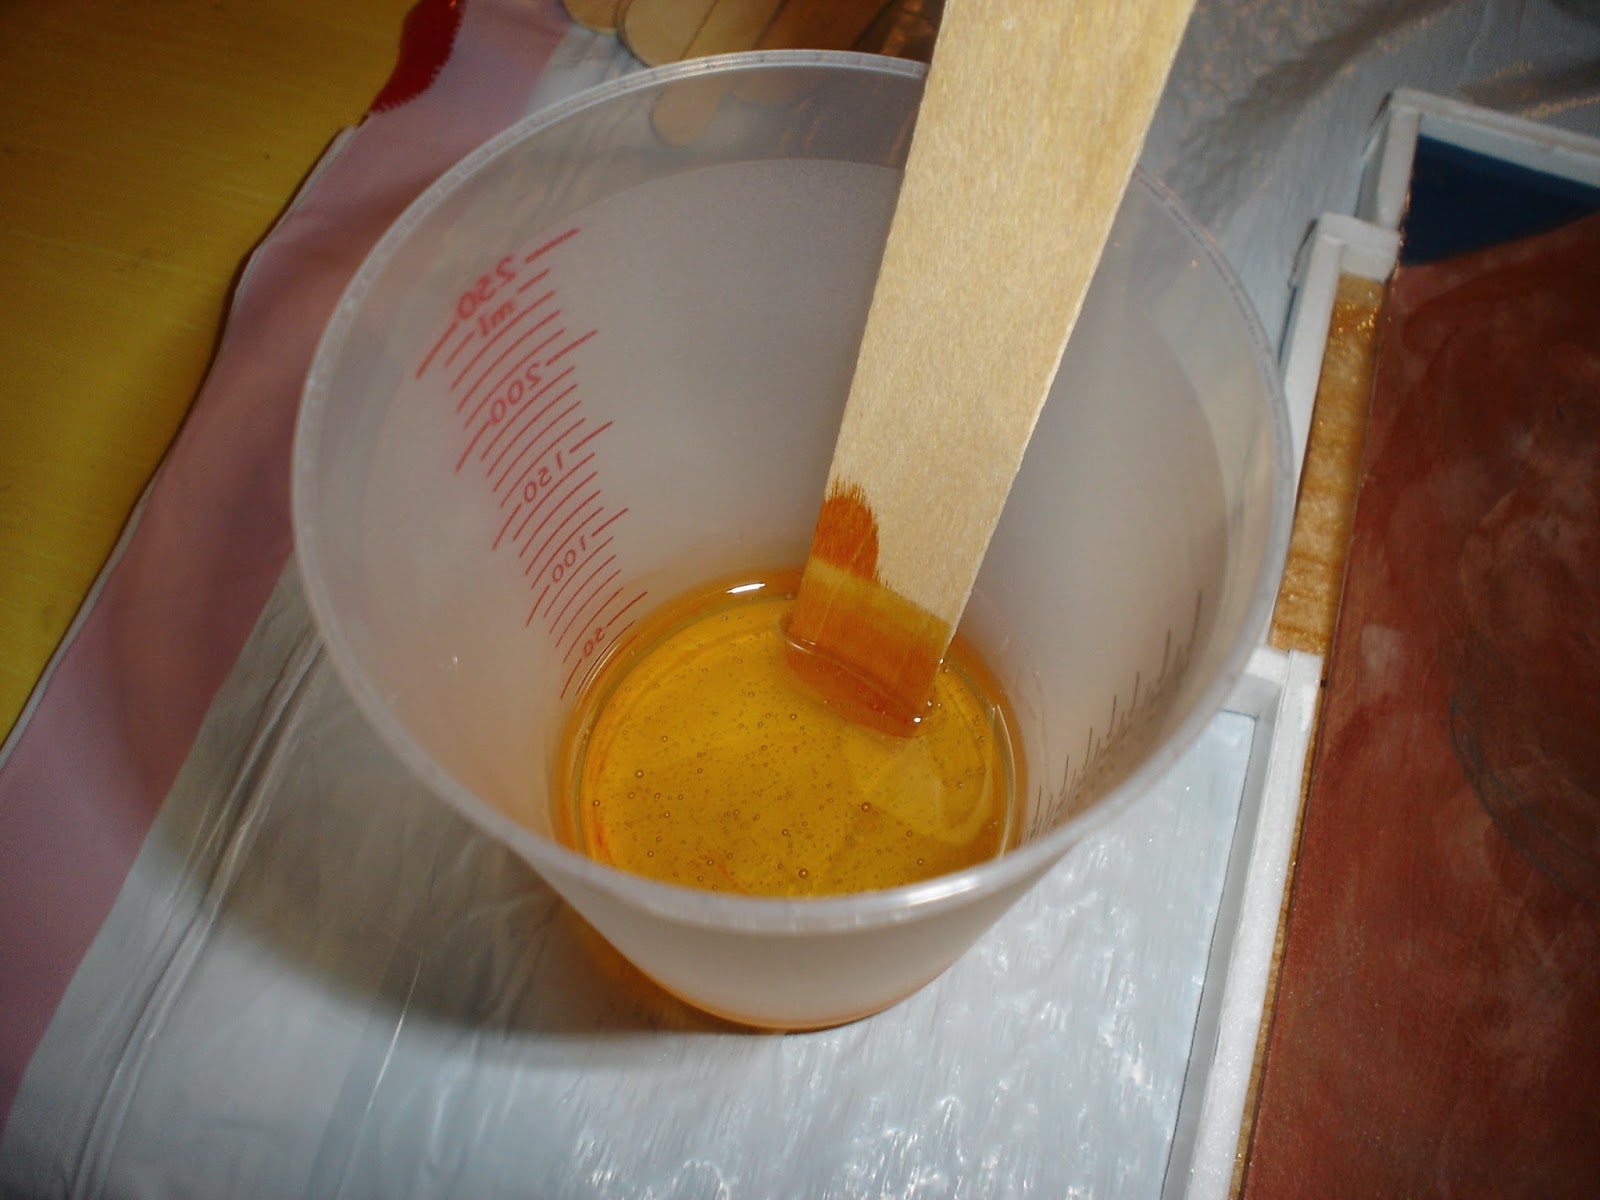
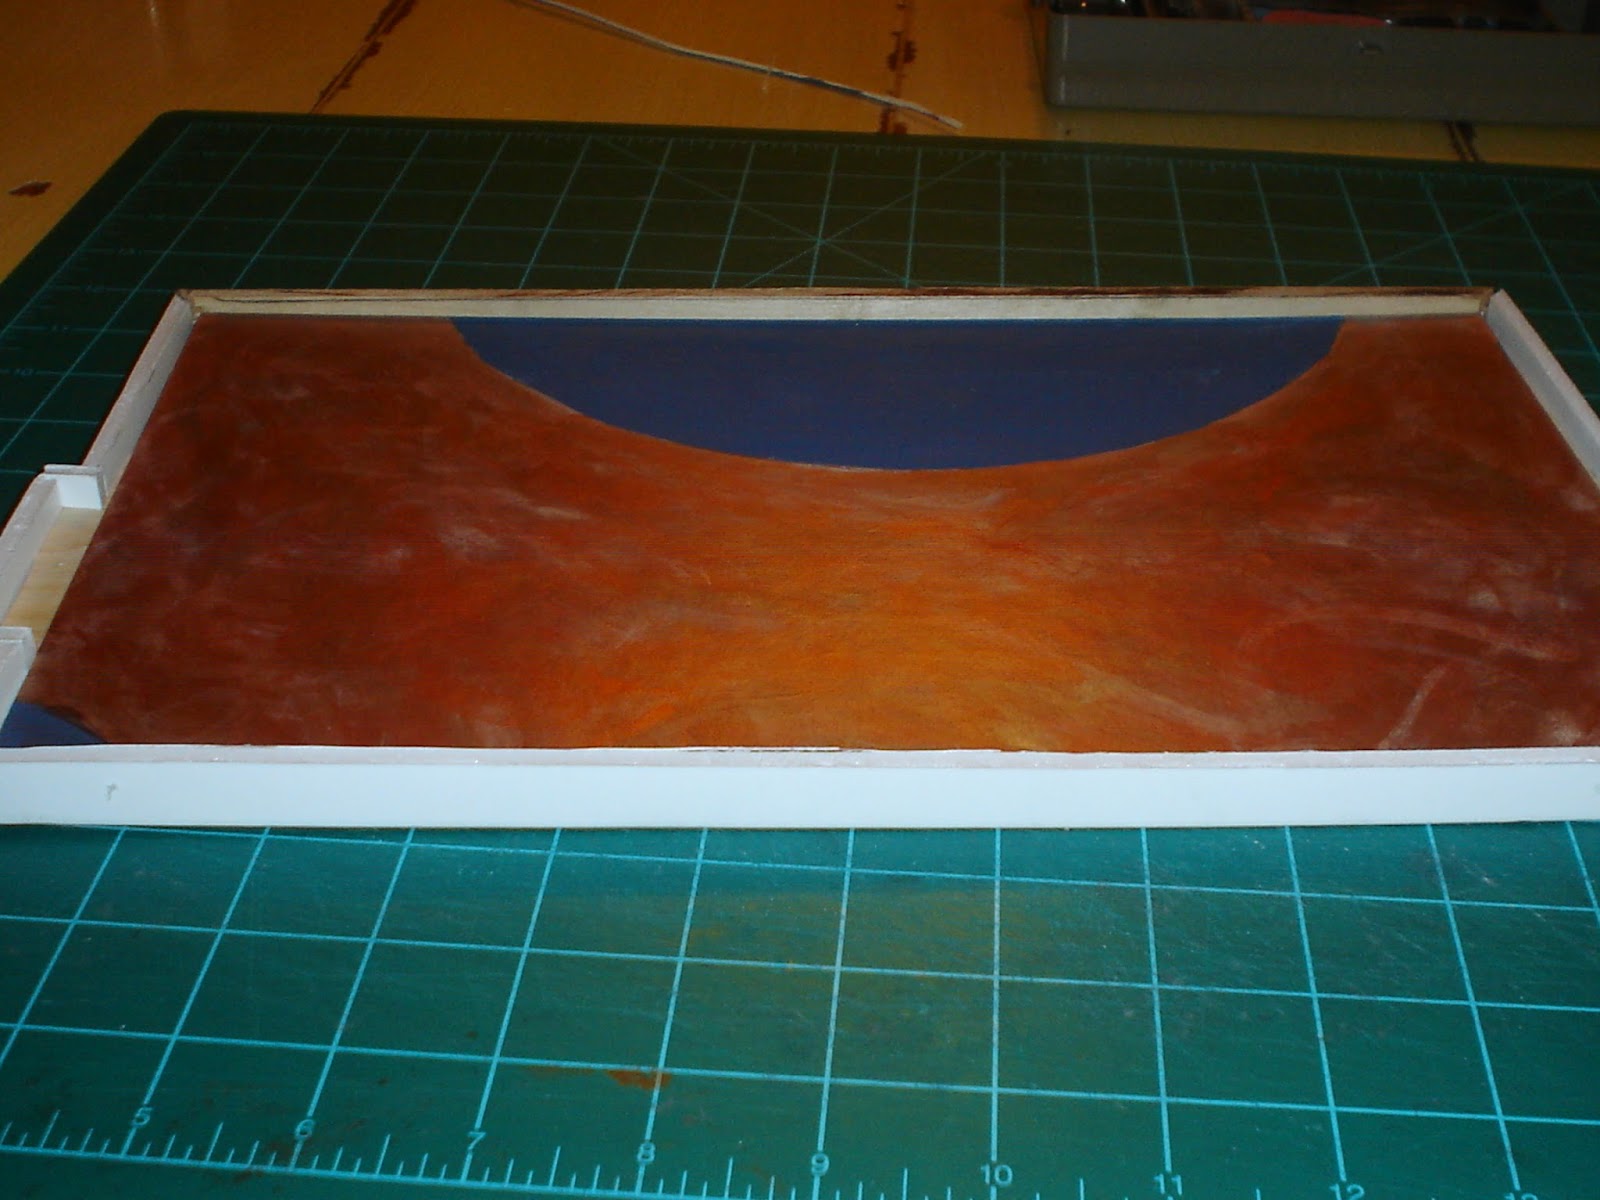
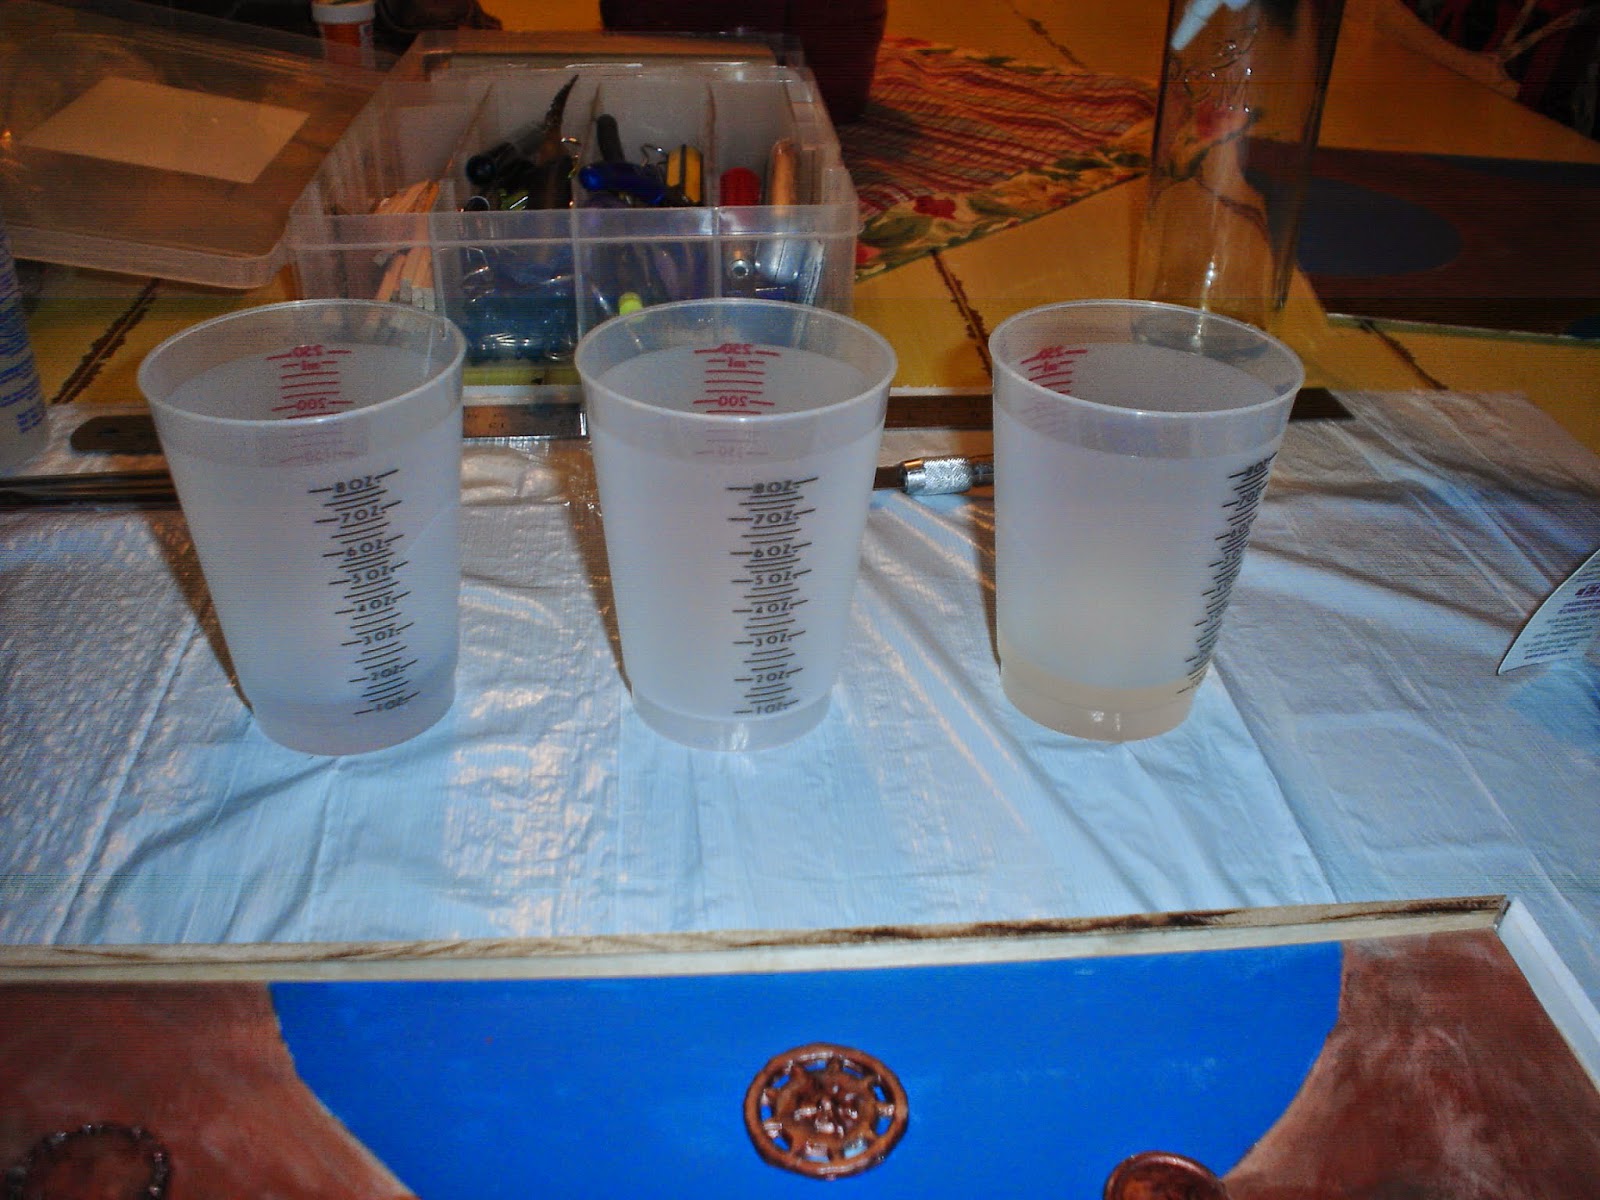
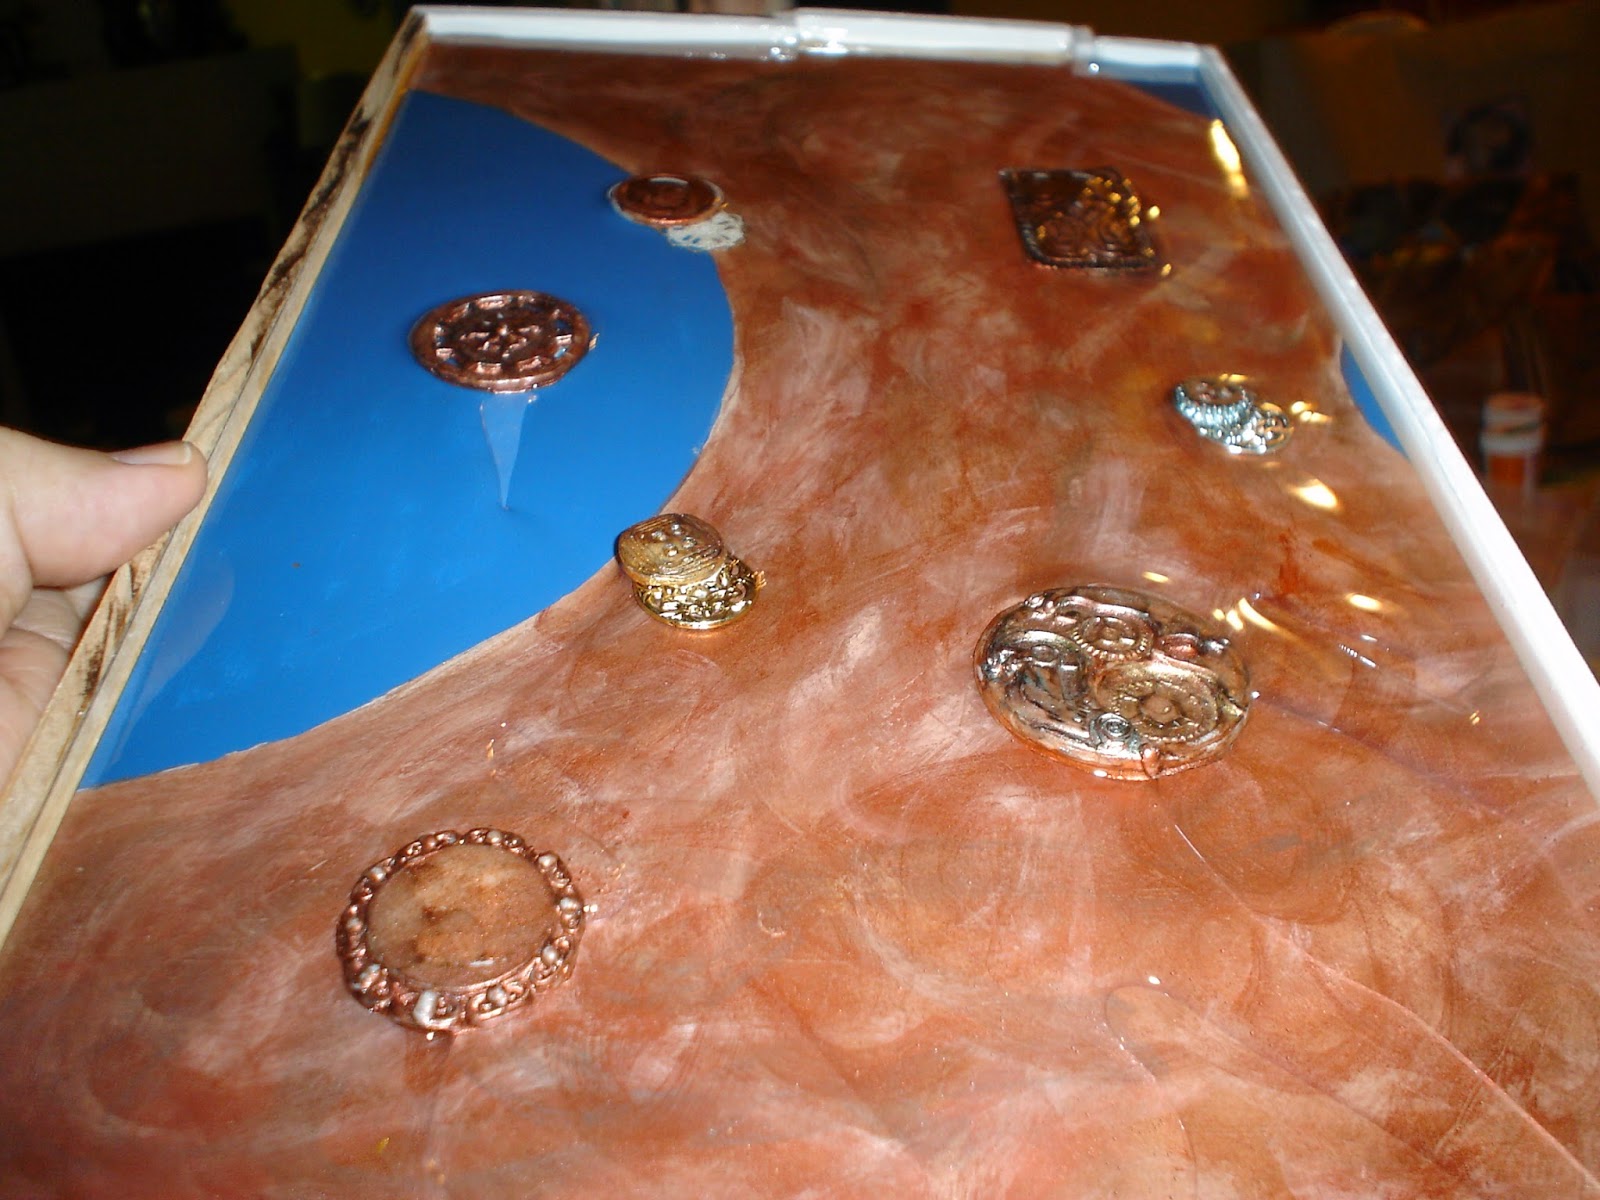
P.S.  For those of you who are wondering what happened to that resin floor pour...it is still in work! However, good news...it is hardening well! I just need to buy MORE of the resin...sigh.  But more on that later!!

Monday, August 25, 2014

Grand Staircase Railing Balustrade

Morning folks!

While I have been waiting for the Entry Floor tests to complete, I have been busy!  I started work on the Grand Staircase Stair Railing balustrade.

Here are the couple of things I have been toying with using for the balusters.


It says Stair Railing to you, doesn't it? 

First, a jewelry connector I found at Hobby Lobby...and immediately thought...stair railing!!  These I know I want to use...


I also found these skeleton keys at a local fair...and thought...hmmm....I wonder....?

I have to admit, I am vacillating on the exact look I want.  I think the Skeleton Keys would add so much...but...

I have been casting and cutting off flashing for two days!  I am getting a little weary of casting resin, to say the least!


These jewelry findings have very fine details, and casting them is quite a chore...a little like watching paint dry...it goes on and on...!


I am using the same process I used for many of the elements of the Entry floor, and I LOVE this stuff.  It is so easy to use, and actually, for a project like this, goes quite quickly.

The first step is to use the Amazing Mold Putty to create several molds from the original piece.  This honestly takes about 10 minutes total!

Next, I used the Amazing Casting Resin from the same company...http://www.amazingmoldputty.com/.  I actually purchase mine through the local Hobby Lobby as well.  This product UNLIKE the Amazing Clear Resin Product I posted about yesterday, is a quick, easy to use product.  Yes, it is also a tad sticky here and there...but hey..you can't have everything!

To hasten the molding process a bit, I heat the silicone molds in the microwave for 1 minute...this helps ensure that the resin has the heat required to set properly.  I then mix the resin parts A and B, stirring for 1 minute....until the resin combination is clear.

I set the timer on the oven for only 16 minutes...that magic number is all it takes for the resin to get hard enough to remove from the mold.

When I get done, I have something like this...


You can see the flashing that comes out of the mold....Well, guess what!  I get to cut all of that off!


After cutting the flashing off of each piece, I end up with a near finished product that resembles the original. 


This is a lot of work...but considering I need a LOT of these...two per baluster rail, and that the findings themselves are exorbitantly expensive for what you are getting, this will save me a HUGE bundle...so it is off to work I go...!

I have done exactly 28 of these puppies....I need something like a hundred!  I will likely not be posting for a day or two!  I am buried in jewelry connectors!


Meanwhile, I continue to try and decide whether to go to the trouble to cast more of the keys...at the moment, it seems just a bit more than I want to do!  But I am sure cooler heads will eventually prevail!

Be back soon!

Doug S

Sunday, August 24, 2014

Resin Casting Update
The Death and Resurrection of a Vision

Hi all!


You can tell from the title of this post that I have some bad news!  My resin casting test of the dollhouse Entry Floor was a total failure!


Photo Courtesy of Public Domain Pictures.net

The Resin was still sticky after 96 hours....it LOOKED gorgeous, but was totally unusable! There was a sticky residue on the top that made the surface entirely unusable for the application I wanted...i.e. Entry Floor!


But not to worry...

If at first you don't succeed, try, try again!

After I finally realized that The Resin on my resin casting test was just not going to cure properly, I called around to various stores that I thought might have folks who knew what they were doing with casting resins.  I knew I had followed the directions to the "T"...so why was my resin casting failing? 

I learned a thing or two I want to pass on to the next bloke who tries this for the first time!  So I am going to present you with the list of things to think about when doing a resin casting in order to get The Resin to set properly.

  1. First you must get Part A and Part B into the right proportions.  This I did...and did exactly right the first time...I know this was not my problem, at least at the beginning.  Depending upon The Resin type you are using, the proportions will vary, but for all of them, the ratio is critical.  I used 'Amazing Clear Cast',, which is an Epoxy Resin by Alumilite Corporation.  This epoxy resin required a 1:1 ratio.   No mystery there!
  2. Any non Silicon molds WILL require a mold release agent.  I have already revealed that I forgot this step, so I knew that I would probably not be able to remove the mold from The Resin...but that was OK..this was a test!  Right? 
  3. Don't use Transparent Resin Dye in Larger Castings!  I used Transparent Resin Dye in my last couple of pours, and come to find out, The Resin dyes can cause problems in larger pours.  One of the men I talked to says he will not use resin dye with clear resins, because it tends to create curing problems.  Now obviously, it must work in smaller resin castings, because I see many examples on the Internet..more to learn there!
  4. Watch out for old or separated resin parts.  I learned that resins can separate over time...and that it is important to shake each bottle and ensure that The Resin is fully mixed in each bottle prior to mixing the two parts.  It is also possible to get OLD resin directly from the store...since resins are scary to folks, the turnaround time on store shelves can be slow...So, testing is a GOOD idea all the time!  Not just for us newbies!
  5. Mixing Cups must be CLEAN.  As in...no resin residue left for EACH pour.  I didn't clean out the resin cups extremely well after each pour...you may remember that I did multiple pours...reasoning...will cure better...WRONG answer!  Multiple pours might  have been fine...but since I didn't clean up each pour well, it may have built up, causing me to have the wrong ratios in later pours.   A word to the wise... Resin is INCREDIBLY difficult to clean up!  Have lots of clean mixing cups available so you don't have to worry about it, and you can throw away the mess!
  6. Mixing time...don't skimp on mixing.  I think THIS is where I went wrong. The directions don't tell you this, but it is important to mix Part A and Part B of the resins for approximately 5 minutes! After one or two minutes, The Resin parts appear to have reacted to one another, The Resin clears, and you might (I did) think that The Resin is ready to pour.  NOT SO.   Mix for a full 5 minutes or so before pouring... The Resin is still in the process of reacting.
  7. Ensure that the Mold Release Agent is applied and dry! This takes a while, so start well before you want to pour.  Nothing tough about that!  But if it is not dry, it may cause issues with the pour. 
So....


Armed with my new information, I tried again!  This time with a smaller pour...that resin is SO expensive!  I repeated the use of cardboard, as one of the things I heard from one of the folks I talked to was that cardboard can retain moisture, and cause issues..but I didn't think that was a factor in my earlier pour, since there was no white cloudiness in the pour...and moisture causes that sort of issues. 

I used an old milk carton as my new mold...


I used two coats of the Castin' Craft Mold Release I had bought from Hobby Lobby...(before the last pour...I totally spaced on it the first time!).   In doing this again, I would actually use a third coat or perhaps some Vaseline, which is also supposed to be a good release agent. 

I mixed The Resin again, after having shaken the bottles for a good 5 minutes...and letting them set for nearly three hours to allow bubbles to escape.   I poured The Resin into the new milk box mold in one pour.  My final pour will be less than the 3/8 inch recommendation by the manufacturer, so I thought I would see how the single pour compared with the multiple pours.  


  At that point, I walked away and did not even look at the new pour until the next day.  Too much suspense is not a good thing! 


To my great joy and surprise...The Resin set very well within 12 hours!  Yeah!  I can do this thing after all! 

The Resin Has Been Conquered!

Now that I know what to avoid, and what things I need to look out for along the way, I am ready to pour my new entry floor!  I am excited to finish this project! 

I'll keep you posted on additional progress!  Until then...

Doug S


Sunday, August 17, 2014

The Very Definition of RESIN


Man what a sticky job!  I LOVE how the mock up of the floor is turning out...but wow.  

Teddy Bears Picnic
Photo courtesy of leww_pics via Flickr
I feel like a bear at a honey convention!

I have decided my project fully fits both of the definitions of "resin".

Definitions please? 

1. a yellow or brown sticky substance that comes from some trees and that is used to make various products
2. an artificial substance that is similar to natural resins and that is used to make plastics


The FIRST definition is my experience with resin.  

The second is what I am working with! 

But NOW boys and girls, 

it is time to report on the progress of my resin floor cast!  

Immediately after pouring the last coat.
Lessons Learned...make sure there are no HOLES in the sides of your mold!

Continuing from the point of having done the first pour of resin into the mock up mold I made from plywood and Foam Core, I've ended up making a total of four shallow pours to get to the point that I am right now....I am waiting for the entire thing to dry at this point...

I have decided to quit pouring on the mock up now, as I am fairly confident I can make this work, and that I know what my "sticky" points will be...which was the point of this first pour.  The resin is quite expensive...so I don't want to continue to "pour money down the drain"! 


Adding the Transparent Resin Dye
I used approximately 5 drops in the final layer

The major difference between what I had done on the first pour, and what I did on subsequent pours, is that I began to play with the transparent dyes...adding a bit of color at first, and adding more in subsequent pours.  

Determining how much color to add was the major reason I did the mockup...I did not know how the color would work with the resin, whether or not it would obscure the items beneath, or if it would be fully transparent.  


Mock Up Resin Floor after about 10 hours...color is holding up well.

Happily, the resin remains very transparent, and the mock up approaches what I had hoped for in the final version. 

I waited approximately 2 hours between pours...so this process has been a slow (and yes...sticky!) one.  After a couple of hours the resin dries to a somewhat jello-like state, at which point it is ready for the next pour.   The package recommends that no deeper than 1/4 in. pours be laid at a time, to ensure "faster" drying... 

[Its been about 10 hours so far...!  The resin is sticky, but not fully dried 
yet.!  Don't tell anyone, but that is not fast!!!]   

Well, I'll leave you with that for the moment...I'll continue to wait for this to dry...and I'll have to buy MORE resin....sigh.  BUT...I love how this mock up is turning out, and am encouraged about the outcome of the final floor.  

Have a great day!

Doug S

Saturday, August 16, 2014

First Pour pour Floor {Bad Pun, yes]

Greetings!

I hope you are all doing well!

Today begins the great experiment!  I am pouring my first clear resin floor..in mock up form...to make sure I can actually pull this thing off and have it look the way I intended...so far, so good!


I've taken the original "rejected" cardboard floor and cut it to size in my mock up version of the floor.  I wanted to duplicate the final pour with all the elements it will eventually have in it...so I started by adding the cardboard...I want to find out if I am going to have problems with warping or other malformation as a result of the resin.


I then added just a few of the elements of the final floor, again, just testing to ensure I don't have any unexpected reactions based upon material types, etc.   Since I am not going to use this floor, I made no attempt to arrange it other than distributing it evenly, and ensuring I had a couple of areas that had stacked items, to see what might happen in regard to trapping air. 


I used Amazing Clear Cast Resin....since I had such good results with my earlier attempts using this brand.  However, the Clear Cast Resins will not dry near as quickly.  It has nearly a thirty minute "work time" and will take many hours to fully dry...between 12 and 48 hours according to instructions. 


The first step is to pour equal amounts of Part A which is the resin, and Part B, which is the catalyst into two equally measured cups.  I measured 1 ounce in each for a total of two ounces when poured together, as I wanted to have multiple pours, to create a multi-layered floor.  I believe that this will help with dry time, and will also allow me to experiment with transparent resin dye in later pours.


The next step was to pour both Part A and Part B into a mixing cup, where I used a plastic knife to stir the resin together, stirring the rather thick liquid until there were no swirls or blurry areas in the mixture.  It went through a bit of a color change as the chemical reaction took place, and once the mixture was evenly mixed, it cleared up again.

I used a plastic knife rather than a wood tongue depressor or Popsicle stick because in reading up in preparation for this first test, it was recommended that for clear resin something other than wood should be used, as wood had the potential to introduce water into the mix, which could cause the resin to have problems in curing properly.


I then poured the resin very slowly into the mold, tipping the mold to move the resin around the mold.  The liquid was very thick, so I did have to dip into the resin with a knife here and there and "help" the resin completely cover.   As the resin self levels, these areas do not remain apparent. 

As I write this, I just realized I forgot to put in the release agent I bought to help ensure this would come out!  So, I may have already made a fatal mistake...we shall see. 


The results so far are amazing!  It is giving me that extremely high gloss effect I wanted...and I am getting a bit excited about the potential results!   If the color and shine are maintained as the floor dries, the final effect will be perfect. 

Now I wait for a couple of hours for the resin to cure to a somewhat jello like consistency, as at that point I am going to pour the second level, which I hope to add a bit of transparent dye to in order to create a beautiful amber cast to the entire floor.  

For now, that is where I am!  I'll post sometime tomorrow with where things went from  here!

Have a great day!

Doug S

Thursday, August 14, 2014

A Good Traveler

I've said before that I make plans but I don't plan....I thought that in the context of this post, it might be prudent to explain myself!  I am a planner from the word go....but the quote below is exactly the way I think of planning.


A good traveler has no fixed plans,
 and is not intent on arriving.


I have a vision, an end state, that I want to accomplish. However, I am very open about how I get there, what paths I take, and what methods will provide the best solution.  So I express my vision, make plans to get there, and change them when they serve the greater vision.


Image Courtesy of Wallpaper Trade


So my "vision" is all about the "feel" of this house...I want it to be elegant, have the Steampunk vibe, feel  aged, obtain that thing we call realism, and it must connect with those who are viewing it.  I have a floor plan, I have some thoughts about how to obtain the vibe that I want, and some exciting methods I want to try to get there.  And I have a LOT to learn!


The Travel Plan

Here is the plan, as it stands today!  The Chateau will have a total of 14 rooms...that is mansion sized isn't it?


First Floor Modules - Kitchens, Entry, and Grand Parlor


On the ground floor, to the left, is going to be the scullery and butlers pantry in the back and a kitchen in the front.  All three kitchen areas will be treated as an old fashioned 1870-1880 kitchen...of course with the "vibe" added.  You already know about the center module, which will be the entry.  The right module will be the grand parlor, and will have a floor at two different levels if I can pull that off.


Second Floor Modules, Morning Room, Dining Room, Hallway, and Couples Bedroom

Moving to the second floor, in the left module will be two rooms, a morning room and a dining room, each filling half of the module.  As you know already, the middle module will be the main hall, and the right module will be the main bedroom, to be outfitted for the Mr. and Mrs.

Third Floor plans - Left to Right - Bath, Bedroom, Library, Bedroom and Sitting Room

The third floor will contain a bath and bedroom in the left module and a library in the center module.  The right module on the third floor is intended to become a third bedroom, with a potential sitting room.   I have not absolutely decided on the sitting room...I had some other thoughts as well, but for now, it is being declared the sitting room.

Soon to become a mansard roof


The third floor exterior will be a mansard roof with a decorative base. Box windows as  you can see above, will be all along the face of the roof.

Just one more photo that may give you a sense of the general air I want to create within the project.


Some of the fabrics gathered for the manse

This is a shot of some of the fabrics I have gathered.  These came from Pacific Fabrics...a store dedicated entirely to a beautiful range of fabrics...these are their "Fat Packs" intended for quilting.  They will be used for both window dressing and furniture coverings...all yet to be fully defined.

I felt a little foolish while shopping for these fabrics...  As the only representative of the male gender present within the store, I did feel a bit like running like a scared deer, but I managed to keep an appropriate decorum in spite of it.

Lastly, I'll share just a couple of key ideas that are informing my work to date.

I plan to add to the roof, which will slope up to the third floor, and then slope at a shallower rise to create a U-shaped wall around a platform on the center module (overlapping onto both right and left modules).  This will be an outdoor pavilion on the roof...I mean these folks have it good!  I've not quite completed my thoughts about how that will come off, so this is the most likely element to change...but I think I can pull that off, and if I can, I think it will be an outstanding feature.

Another key thought I'll share is that I do plan to help these folks move in in style, and the entire final scene is going to be centered around a wedding party getting ready for their wedding events.   I have a number of fun ideas about how to bring that to fruition too, and I think there will be lots of opportunity for that "connection" I hope to create in the end.

Those of you who choose to ride along will follow me along the journey from the current state to what I hope will be a fun, light-hearted, yet very elegant scene.

This was fun to share...I hope you've enjoyed the glimpse into the future!

Have a great day!

Doug S

Wednesday, August 13, 2014

What is He Thinking?!!

Morning folks!

For the most part, I have caught you all up on the "past" progress on the Steampunk Chateau. I will add more posts here and there as I begin new decorative or building efforts...some of those will dip into past decisions and choices. But for the next two or three posts, I'll give you some ideas of my future plans for the house.

I realized that in my earlier posts I hadn't really given anyone a good sense of where I was going with this thing...other than the project would have a Steampunk theme.


A full view of the second floor hallway insert


Today's post is going to be about one somewhat different decision I made, and some of the reasoning behind that choice. I am sure one or two of you have wondered...why did he do THAT?!!  That choice was to add an insert for the hallway, rather than punch through doors in each wall, and rather than placing the hallway at the rear, where it opens up the view more fully for anyone who wants to see the details.

I had a number of reasons for making this choice...and it will be interesting to see if that choice pays off.  I am actually quite excited about the prospects.


Closeup of the hallway during initial planning stages - lots of blue tape!

From a practicality stand point, this decision was fueled by the fact that I needed an easy way to connect the modules of the third floor, without cutting up the available space.

My choice on the 2nd floor center module, which is to be a main hallway, was to use much of that floor space to create a dramatic feature.  This left me with no real practical way to connect the rooms without making the floor space in that module essentially unusable for any furnishings..which I did not want to do.


Center module with mostly open space to create drama - but it limits space available!
So in order to cope with that choice, I needed an option that allowed access but at the same time left me with space to decorate and use the center module.

Probably the more important thing to me as I reviewed potential options for access from module to module was the design element. One of the things that makes any room interesting, life size or miniature, is the use of hidden space.  

The automatic drama of hidden space

I am going to be doing this throughout the house...you have already seen that my Grand Staircase does not go all the way to the back, but rather crosses the room and obscures part of the Entry.

Here again is a similar choice.  When the entire house is complete, I wanted there to be several levels of interest....the initial view...a secondary, somewhat more detailed view, and then those closeup and peekaboo views...that is, to me, what makes a miniature house truly interesting.

At the same time, I did not want to entirely close off the views to these rooms so that the only views were through windows.  That is too MUCH hidden space!

So my choice was to create this pillared hallway insert to span the entire front of the second floor space.  I hope in the end that it will be effective. 

A lovely paper door that I may use as the inspiration for my doors in the hallway


As you can see hints of in the photos, each of the openings WILL have a door (except maybe the hallway above the Entry..haven't finalized that in my thoughts!), and I hope that by treating those doors in a manner that allows a somewhat hidden view into each room that the end effect will be magical.

An interesting view through the side window during construction

The hallway insert you have been seeing so far is another of those "mockup" installations...The final version will be of wood, because it must be taken out and inserted in order to take apart and move the final house, and will need to be of extremely sturdy construction as a result. 

I'd be interested in feedback on this one!  It is an unusual choice... and one I am in a "wait and see" mode to determine how "good" that choice was!

Thanks for visiting!! 

Until next time! 

Doug S

Tuesday, August 12, 2014

Copper Domes and Plastic Dreams

Hello folks!

This post is a continuation of the last post on creating the Oriel Window for the Steampunk Chateau.


The original window concept

Once I had determined that I did not like the Art Nouveau roof awning I had planned, I was faced with a decision. I knew that the "top" pictured above was actually what I would be using on the bottom of the pieces eventually. So I needed a new dome for my window.

I'd like to call your attention to a pic I already posted yesterday...

Note the plastic bottle tops.  These "grew up" into the final dome pieces!

Notice in the center of this picture a plastic piece.  This is actually the bottle top for a "Downy UnStoppables Scent Booster" bottle top that I cut off and then cut in half.    Such humble beginnings!  

I had already planned to use this bottle top dome with the failed concept of the Art Noveau awning.  I decided to take that original dome concept and work with it to create an interesting dome that would replace the metal lantern part that I show in the original concept above.  

Armed with my new plan, I started out by covering the plastic pieces with gesso.  Prior to applying the gesso, I sanded out the ridges in the bottle top that are used to screw on the lid with heavy grit sandpaper.  

Note in the picture below that the "top" of the lantern is actually the original "bottom" of the piece.  I turned the lantern pieces over so that the filigree would be at the bottom of each window, where I thought it looked best. 

I cut a half round piece out of Foam Core board to cover the top of the lantern and to help transition the shapes and integrate them visually.   I sanded both pieces using 60 grit sandpaper, then sanded with 120 grit sandpaper, and then followed up with #0000 Steel Wool, to ensure a nice, smooth finish on both pieces. Used together, these pieces gave me a solid, clean shape to begin working with. 


Transformed from bottle top to dome!


My next step was to apply color to the dome.  I wanted a copper effect, but one that would have the suggestion of being weathered.   To create some additional interest, I also chose to texture the dome first, and add metal bands from top to bottom around the dome.  I started this process by first adding a texture coat. 

The grouted domes before sanding

I applied TEC Ready to Use Adhesive and Grout Unsanded Formula to overlay the layer of gesso I put on the plastic bottle.  I then used a toothbrush and an old paint brush to "stipple" the surfaces, applying the grout and then removing the brushes in a "pulling" motion, leaving nice sharp points.  I let that dry and then came back with heavy sandpaper to sand the ends flat, leaving dipples in the overall texture.  

Tape placed with gaps between to create the dome bands

Once the grout had been sanded to create a very dimpled surface, the next step was to lay a base of grey-black color.  I used Folk Art Blending Gel with black acrylic paint as a base coat.  I created metal bands on the dome by cutting masking tape into small 1/8 in, strips using my utility knife, and adding them to the dome. As you can see I wanted vertical stripes up the dome sides.


After applying additional grout, before sanding bands

Having placed the tape where I wanted it, I was ready to apply more grout.  I applied the second layer of grout and followed up with a knife blade to smooth the texture over the banded areas.  

After waiting several minutes for the grout to partially dry, I stripped the small pieces of tape from the dome, and now had straight appearing (operative word!) bands of grout that ascended the dome on its sides. 

I painted the entire base with Deco Art 'Royal Ruby' Metallic Paint...which left me with a nice copper color base.  

A coat of "Royal Penny" paint as the base coat

After the original coat of copper paint, I stippled Deco Art 'Dark Patina' Metallic paint over the top of the dome, leaving some of the original copper paint showing through.

Added "Dark Patina" second coat

Over this layer second of paint, I added a third coat of paint using Deco Art's "Worn Penny" Metallic Paint, again, stippling with the paint to return the dome to mostly copper, but leaving a bit of the green verdigris showing through. 

Applied "Warm Penny" over the verdigris layer
I went back in around each of the bands and added another coat of the 'Dark Patina'  paint along all the bands...where rain and wear would have darkened the copper and then finished off with another coat of 'Royal Ruby' just on the bands.  

The new dome in dry fit with the Oriel window


I also painted the Foam Core roof piece and added brass brads (with the heads painted copper) to the edge to finish it off, and then aged the roof piece, the lantern itself, and the tile at the base.  

I had previously cut up an old Armstrong Floor Tile I had in the garage and applied the small cut pieces  to create a tile look as a base for the additional detail I have planned as I finish off the pieces.  

Here is a peek at the Steampunk Chateau all dressed up with its' new Oriel Windows!  

1st and 2nd floor with Steampunk windows where they will go

This is where I stopped on this project, because my main objective was to set the new profile for the Oriel window so that I could modify and adjust the third floor shell to work with the changed dome profile.   You will see a few additional trim pieces that I cut out of foam core in some of the following photos though.  

I will be going back in on these pieces as I attach and apply the windows to the house in the final assembly stages for each affected room.  For now, they will remain as is.

I wanted to share with you too what the window will look like with glass in it!  All of the additional window pieces, both glass and Foam Core, are just set in in this photo, rather than attached, but you can see the general effect in this photo.  I loved it...and cannot wait to assemble everything permanently some day soon! At that time, I will be adding all additional detail to finalize this portion of the project. 


A glimpse of the important future ahead for these newly minted windows!

Thanks for joining me here on the blog, hope you have enjoyed following along on the creation story for the Steampunk Oriel windows.  

Have a great evening!   Until next time!  

Doug S